These Gluten Free Cake Pops are easy, fun, and naturally gluten free. Made with oat flour and cream cheese, this is a healthier cake pop that kids and adults love. They're simple, sweet, and take just about an hour from start to finish.

Jump to:
These gluten free cake pops are hands down one of the best desserts. Little bites of gluten free cake held together with cream cheese, dipped into sweet white chocolate, and finished with rainbow sprinkles.
You can serve them at birthday parties, holiday gatherings, or just make them a surprise your family with a treat. Everyone always loves them!
Plus, if you don't have sticks, you can easily turn them into gluten free cake truffles. They're still just as delicious!
Read below to find out all my tips and tricks for making incredible cake pops that are simple, easy, and naturally gluten free.
Be sure to also check out this gluten free coffee cake or gluten free chocolate snack cake if you need more cake in your life. (honestly, who doesn't)
INGREDIENTS FOR GLUTEN FREE CAKE POPS
*full list of ingredients and measurements can be found in recipe card below*
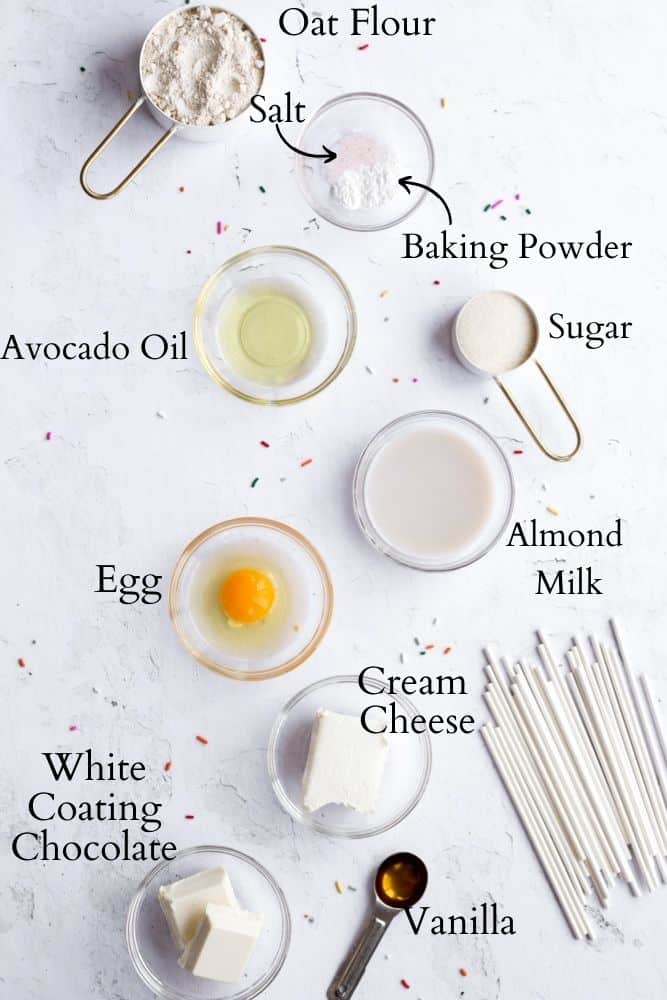
- Oat Flour: Be sure it's certified gluten free. I like Bob's Red Mill for this very reason!
- Sugar: I used organic cane sugar, but coconut sugar also works well
- Avocado Oil: If you don't have avocado oil, any neutral flavored oil like canola or vegetable will also work
- Egg: This cake will not work with a vegan egg substitute, it must be a real egg
- Vanilla: Pure vanilla extract is best, but you could also use vanilla bean paste
- Almond Milk: If you don't have almond milk, any non-dairy milk also works. You can also make it with cow's milk if that's what you have on hand
- Baking Powder: Be sure it's not expired or else your cake won't rise
- Salt: Don't skip the salt because it balances out all the sweetness
- Cream Cheese: I recommend using full-fat cream cheese, it's what binds the cake pops instead of adding more sugar with traditional buttercream. You are also able to substitute regular for dairy-free cream cheese
- White Coating Chocolate: NOT white chocolate chips. There is a big difference, chocolate chips were not made for coating and they don't work well.
How To Make Gluten Free Cake Pops
Making the cake:
1. Preheat you oven to 350F and line a 6 inch round baking pan with parchment paper
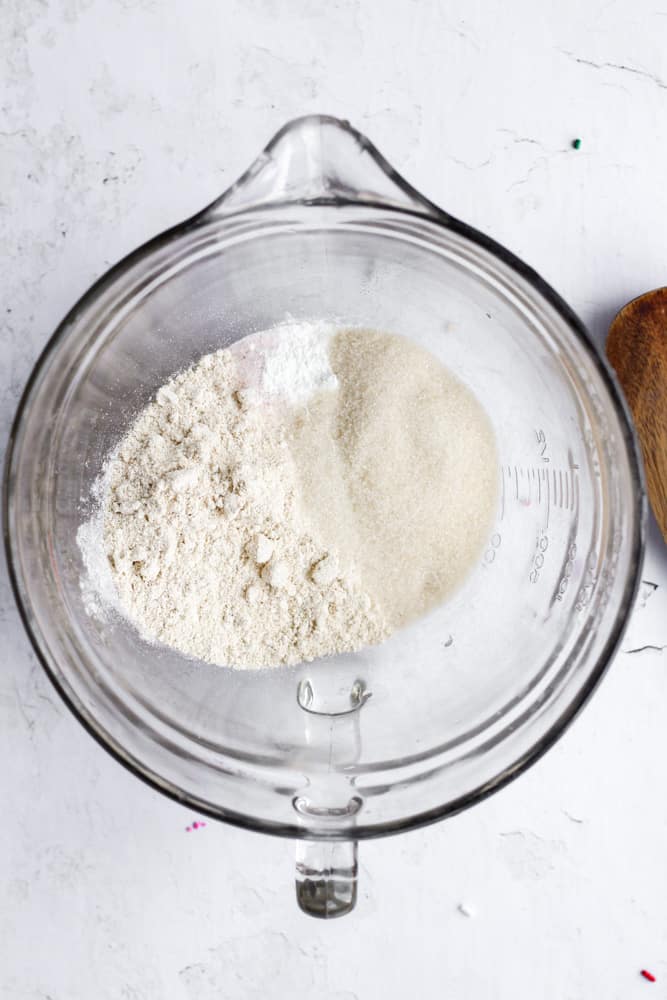
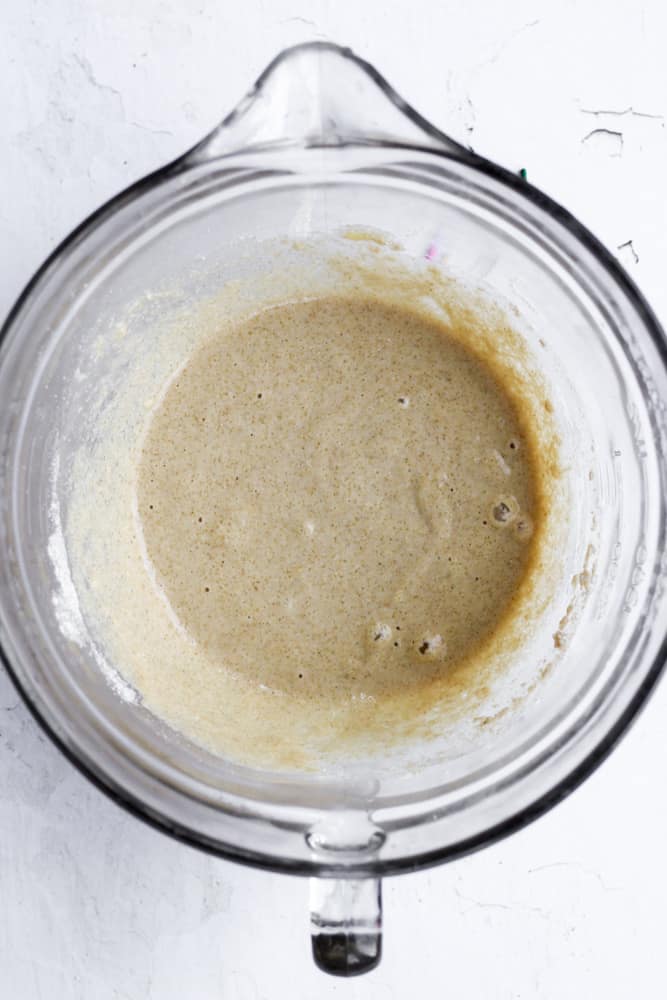
2. In a large mixing bowl, whisk together the dry ingredients, then fold in the wet ingredients and let the gluten free batter rest for 10 minutes
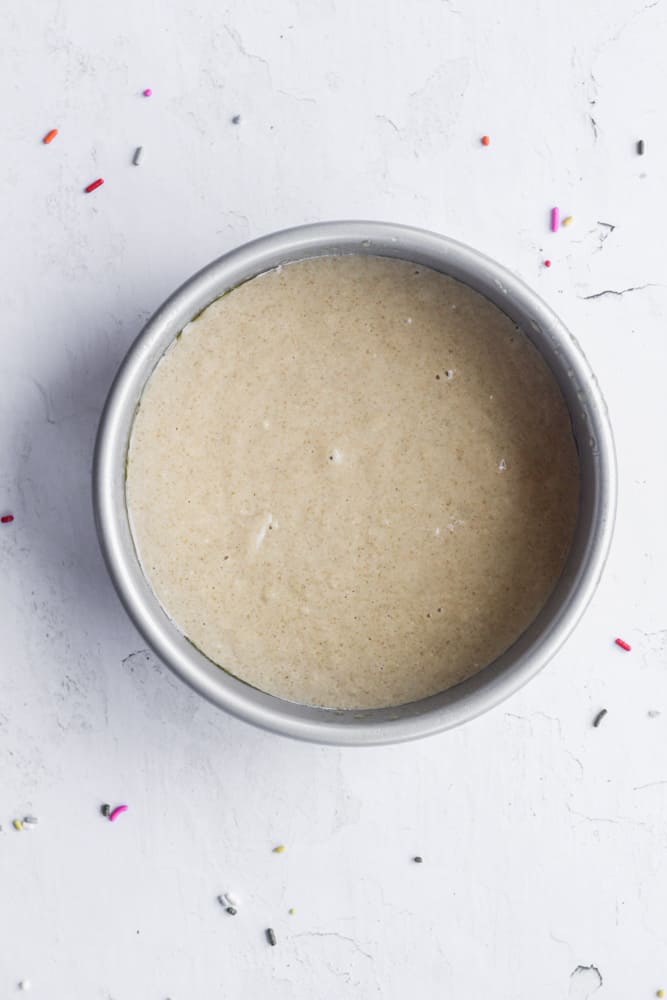
3. Pour the rested batter into your prepared baking pan and bake at 350F for 13-15 minutes, or until a toothpick inserted into the center comes out clean
Forming The Cake Pops
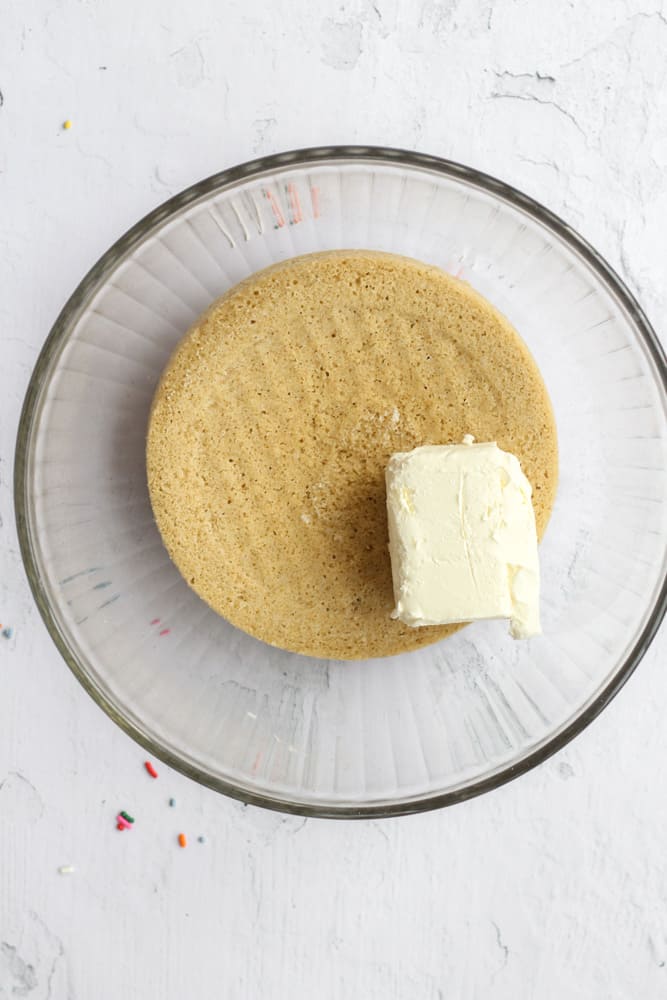
- Turn the slightly cooled cake out into a medium sized bowl and add in the cream cheese
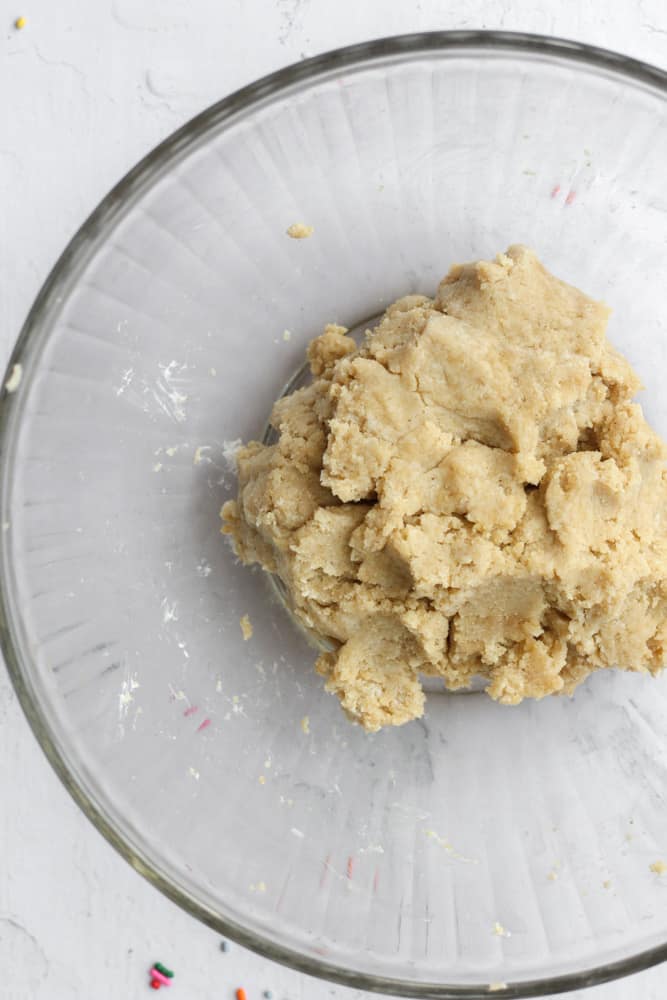
- Use your hands to crumble the cake and mix it well with the cream cheese. (it will be warm, but the cream cheese should cool it enough to handle)
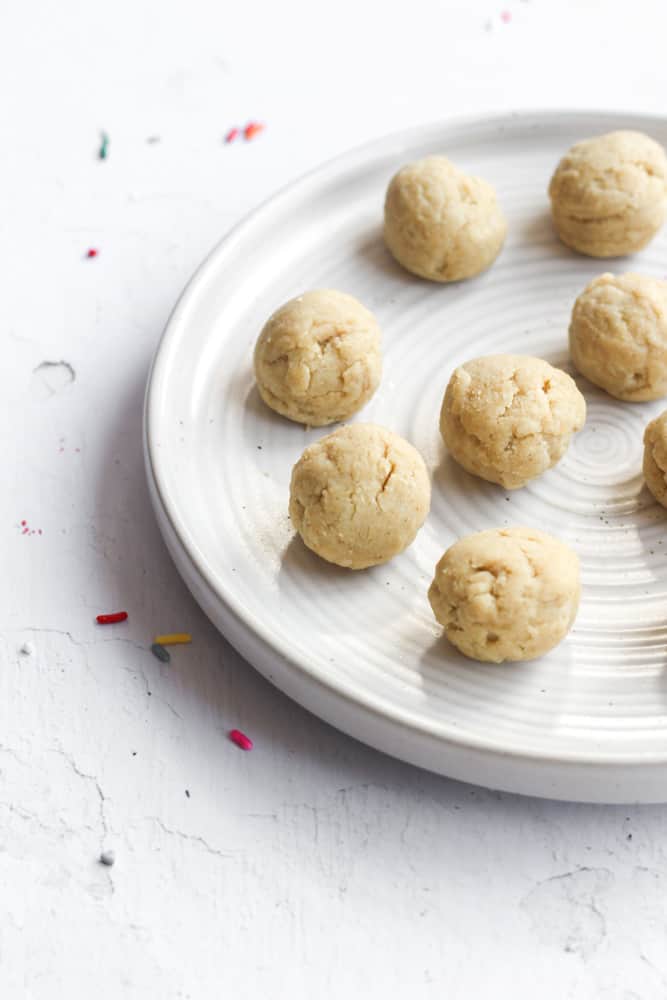
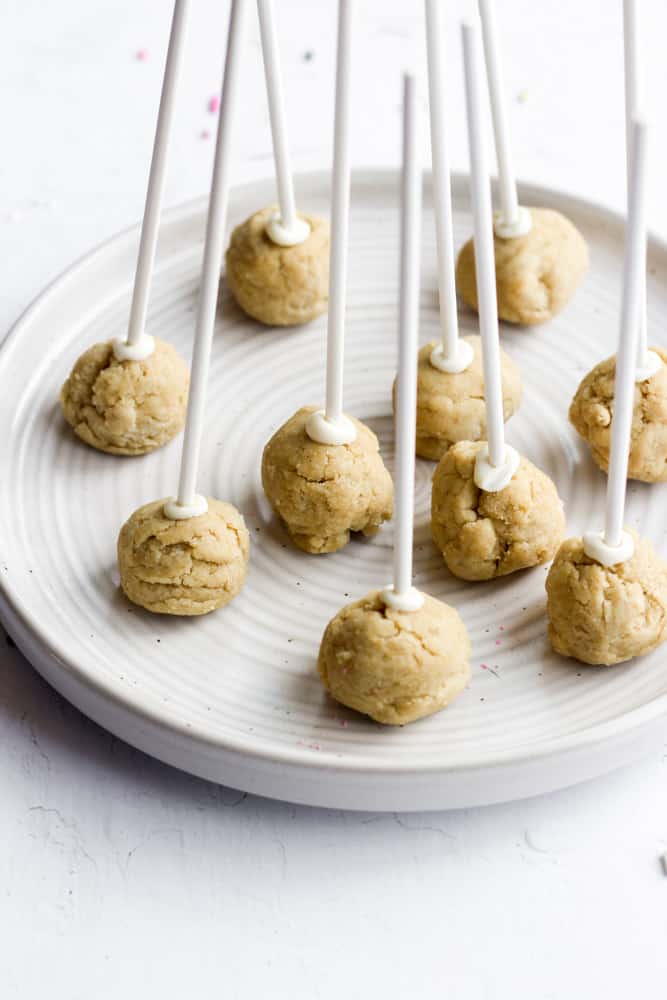
- Once everything is well combined, use a small cookie scoop to divide the dough into cake pops. Roll into balls and place them on a plate
DIPPING THE CAKE POPS
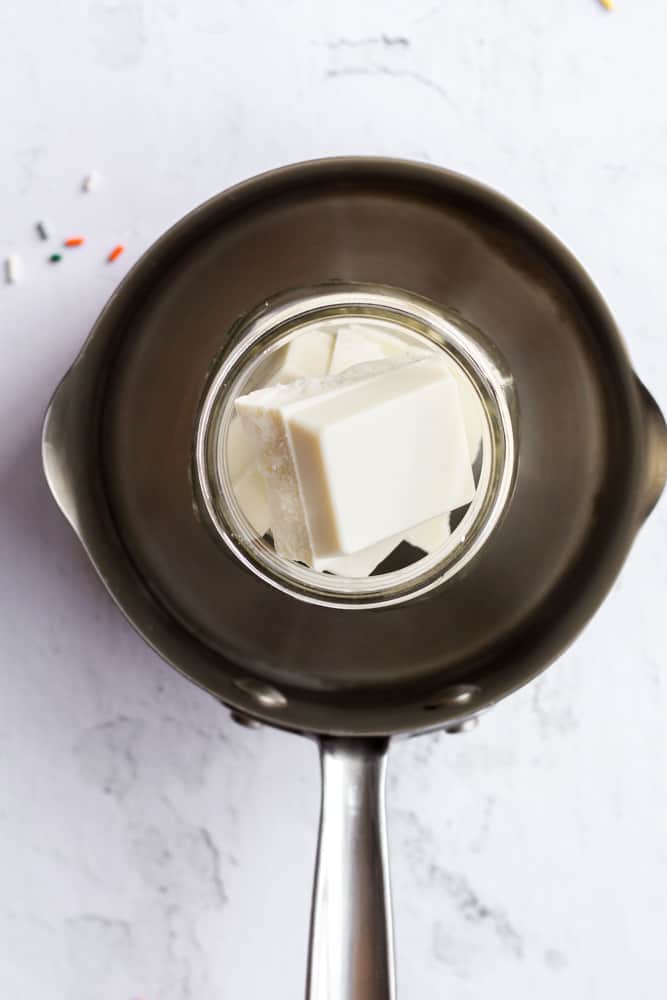
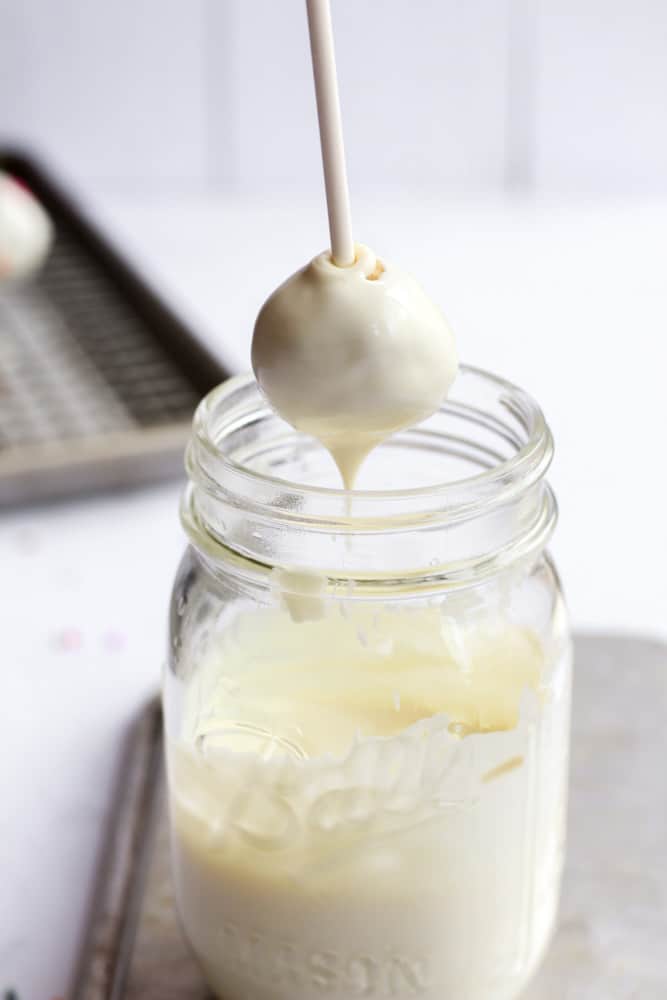
- In a double boiler, over low heat, melt the white coating chocolate, stirring until smooth
- Dip ½ inch of your cake pop stick into the melted chocolate and then push it into the cake pop. Repeat until all of the pops have sticks in them
- Freeze the pops for a minimum of 15 minutes before moving on to the next step.
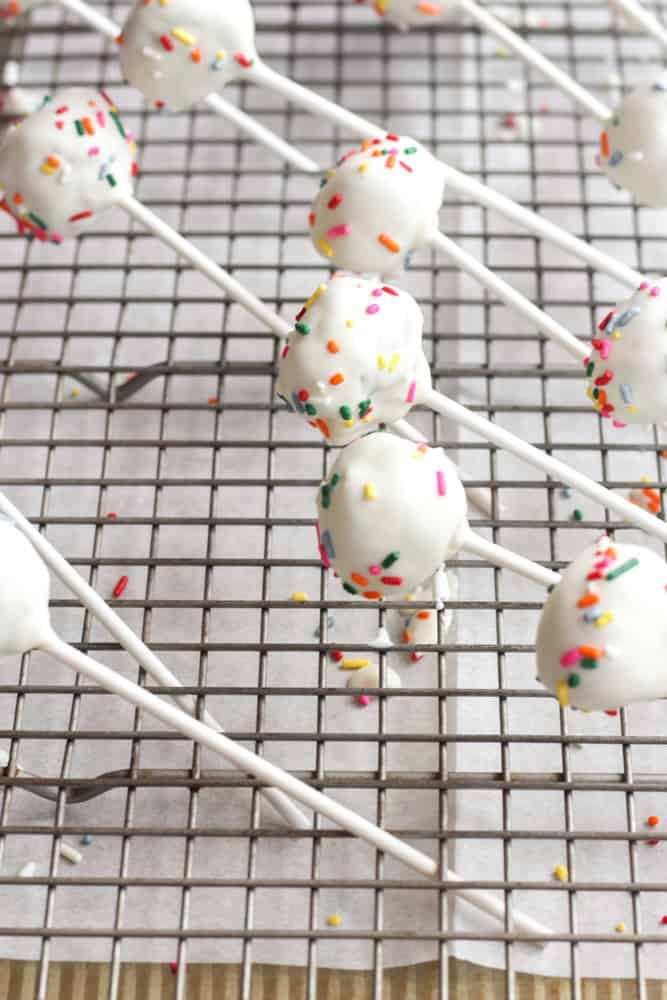
- Next, hold the end of the stick and dip the gluten free cake pops into the melted coating chocolate. Let the excess run off, quickly add sprinkles if desired, and then place the end you were holding into a cake pop cooling rack.
- Dip and sprinkle the remaining cake pops, let the coating harden, and enjoy!
Expert Tips
- Room temperature ingredients make the best cake
- Let the cake batter rest. When making gluten free cake, resting allows the flour to hydrate and turns out a more moist cake
- Allow the cake to cool for 10-15 minutes after baking so it's just cool enough to handle and make the cake pops
- A small cookie scoop is great for getting uniform size cake pops
- Be sure to let the cake pops freeze before fully coating them so that way the sticks are secure
- I use a square cooling rack over parchment paper as a way to let the excess chocolate drip off
- Sprinkle the sprinkles immediately after dipping because the chocolate hardens quickly
- Use white coating chocolate, NOT white chocolate chips
Recipe Variations
Looking to change it up from the classic gluten free cake pop recipe I shared? Try one of these options!
- Substitute the vanilla extract with another extract
- Coat in dark or milk chocolate instead
- Finish with crushed peppermint or crushed M&M's in place of sprinkles
These are meant to be fun, so get creative in the kitchen! Comment below any changes you made, I'd love to hear them 🙂

Frequently Asked Questions
You can change out the vanilla for ½ teaspoon peppermint extract, almond extract, or lemon extract. You could also use your favorite gluten free chocolate cake recipe, and then follow my instructions for dipping.
Unfortunately no. I designed this recipe to be baked in a cake pan and then mixed with the binder. A recipe for a cake pop machine would be completely different.
You can store them in an air-tight container in the fridge for up to one week.

Did you make this recipe? If so, I would appreciate you leaving a comment and star rating down below. Also, follow me on Instagram and tag me or use #incoleskitchen so I can see what you made and share it!
*Post was updated 1/17/23 to include more information and clearer recipe card*
PrintGluten Free Cake Pops
These Gluten Free Cake Pops are easy, fun, and naturally gluten free. Made with oat flour and cream cheese, this is a healthier cake pop that kids and adults love. They're simple, sweet, and take just about an hour from start to finish.
- Prep Time: 45 Minutes
- Cook Time: 15 Minutes
- Total Time: 1 hour
- Yield: 16 Cake Pops 1x
- Category: Dessert
- Method: Baking
- Cuisine: American
- Diet: Gluten Free
Ingredients
- 1 cup Oat Flour (make sure it is certified gluten free)
- ¾ Teaspoon Baking Powder
- ½ Teaspoon Salt
- ¼ cup Sugar (or coconut sugar)
- 2 Tablespoons Avocado Oil
- 1 Egg
- 1 Teaspoon Vanilla
- ¼ cup Almond Milk
- 1 ½ ounces of Cream Cheese
- 1 cup of White Coating Chocolate
Instructions
- Preheat oven to 350 degrees F and grease a 6 inch round cake pan with non-stick cooking spray
- In a medium sized bowl whisk together oat flour, baking powder, salt, and sugar
- To the dry ingredients, add in the avocado oil, egg, vanilla, and almond milk. Mix everything together until well combined
- Let the batter rest for 10 minutes, then pour it into your prepared cake pan
- Bake for 13-15 minutes, or until a toothpick inserted into the center comes out clean
- Pull the pan out of the oven and let the cake cool in the pan for 10 minutes
- Turn the slightly cooled cake out into a medium sized bowl and add in the cream cheese
- Use your hands to crumble the cake and mix it well with the cream cheese. (it will be warm, but the cream cheese should cool it enough to handle)
- Once everything is well combined, (and looks kind of like cookie dough) use a small cookie scoop to divide the dough into cake pops. Roll into balls and place them on a plate
- In a double boiler, over low heat, *see pic in post for reference* melt the white coating chocolate. It should be smooth and runny, you can add a teeny bit of coconut oil if you need to thin it out a bit.
- Dip ½ inch of your cake pop stick into the melted chocolate and then push it into the cake pops. Repeat until all of the pops have sticks in them
- Place the cake pops into the freezer for a minimum of 15 minutes. Meanwhile, turn the stove heat all the way down to keep the chocolate melted, but not burning, and stir it every couple minutes.
- After the cake pops have frozen you can dip them. Holding the end of the stick, dip the gluten free cake pops into the melted coating chocolate. Let the excess run off, quickly add sprinkles if desired, and then place the end you were holding into a cake pop cooling rack. I set up a square cooling rack over parchment paper and used that to hold the cooling pops as I dipped the rest. (see post for reference)
- Dip and sprinkle the remaining cake pops, let the coating harden, and enjoy!
Notes
- If you can use room temperature ingredients, it's better
- Let the cake batter rest. When making gluten free cake, resting allows the flour to hydrate and turns out a more moist cake
- Allow the cake to cool for 10-15 minutes after baking so it's just cool enough to handle and make the cake pops
- You can use dairy-free cream cheese in place of the regular to keep this recipe dairy free
- A small cookie scoop is great for getting uniform size cake pops
- Be sure to let the cake pops freeze before fully coating them so that way the sticks are secure
- I use a square cooling rack over parchment paper as a way to let the excess chocolate drip off
- Sprinkle the sprinkles immediately after dipping because the chocolate hardens quickly
- Use white coating chocolate, NOT white chocolate chips
- Store leftover cake pops in an air-tight container in the fridge for 7 days





Nat says
Love loved these (esp. bc i like oat flour and cream cheese). This recipe requires blocks of time, but very simple and very tasty. Was my first attempt at cake pops and we really enjoyed them.