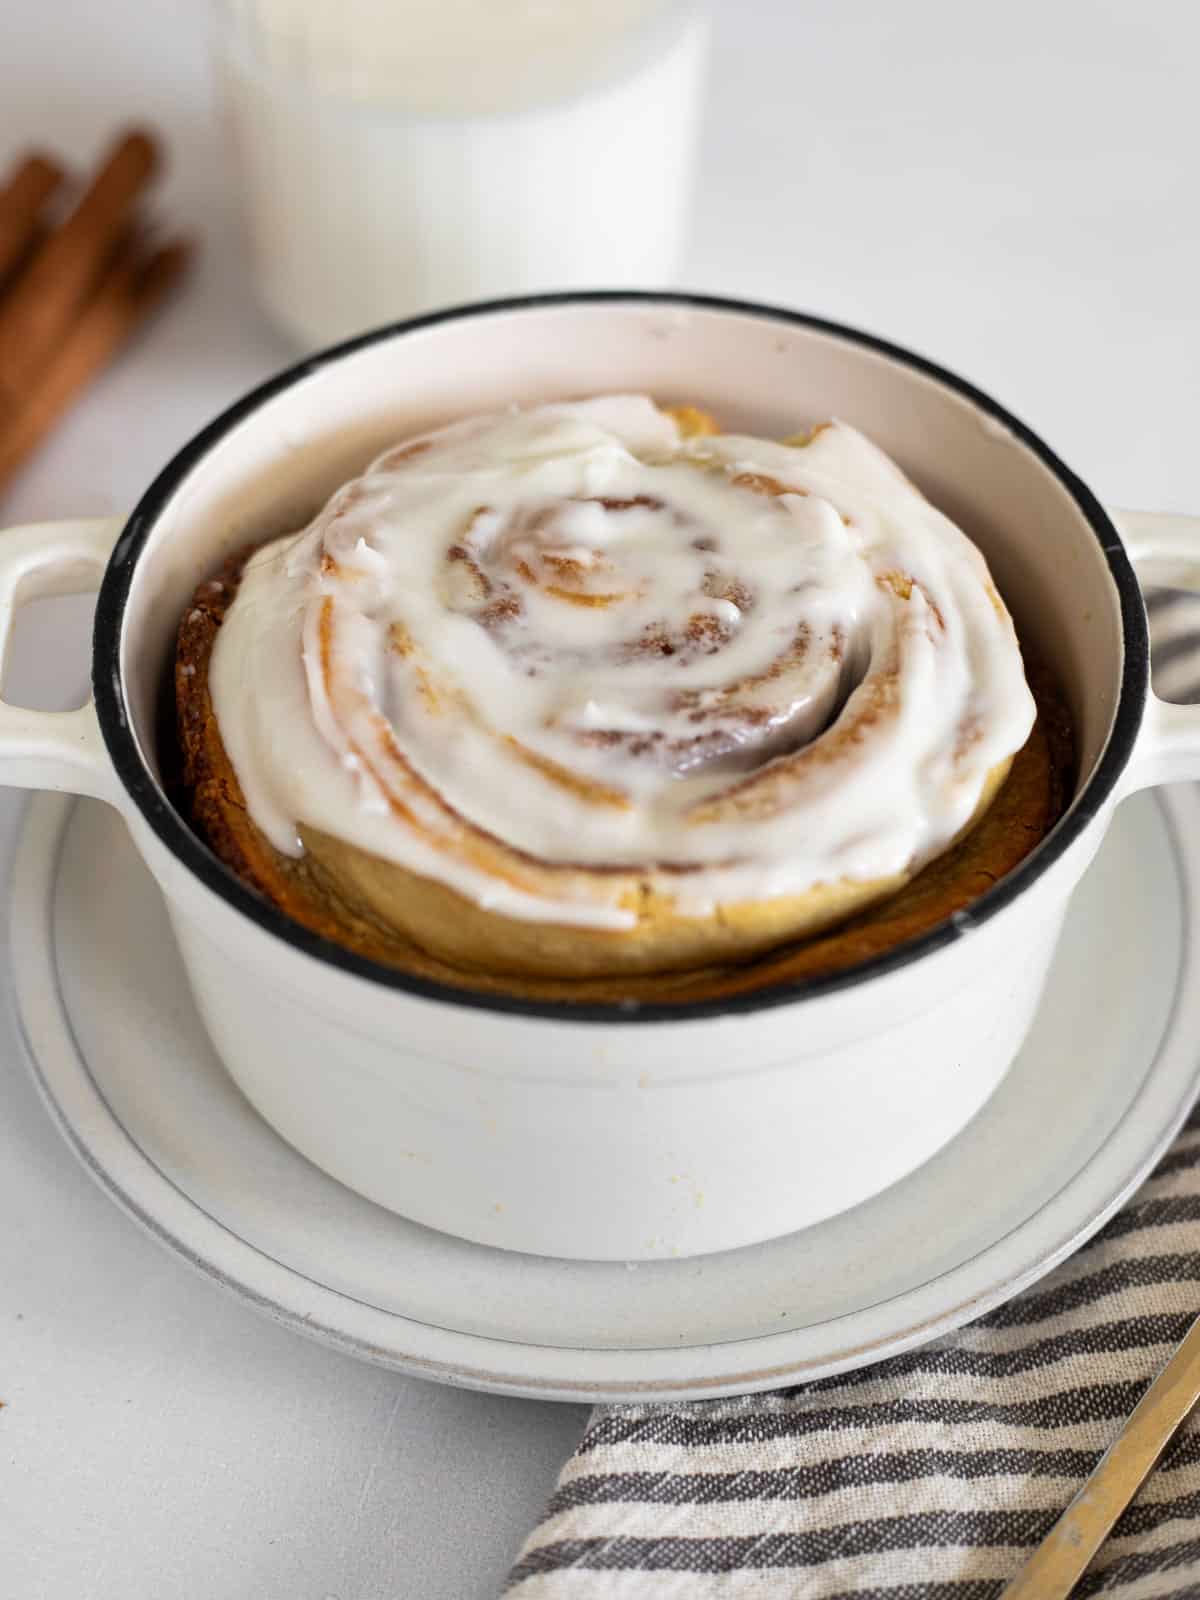
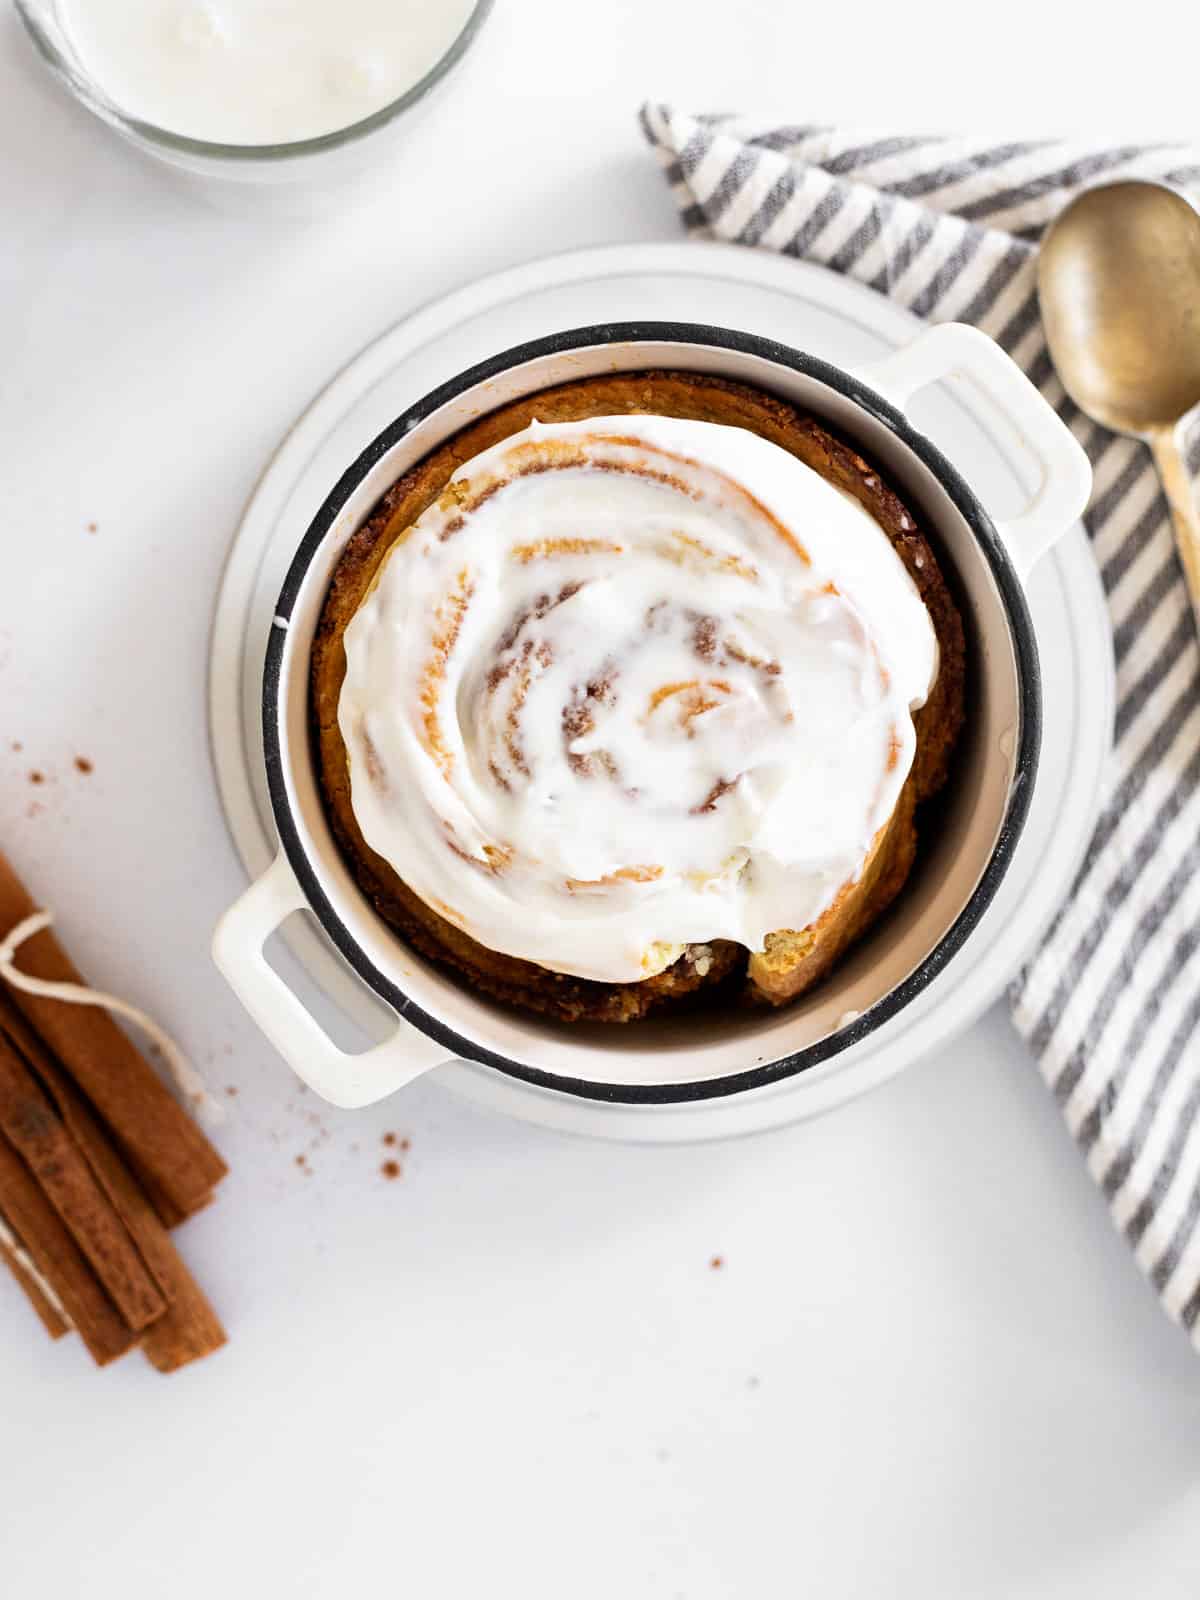
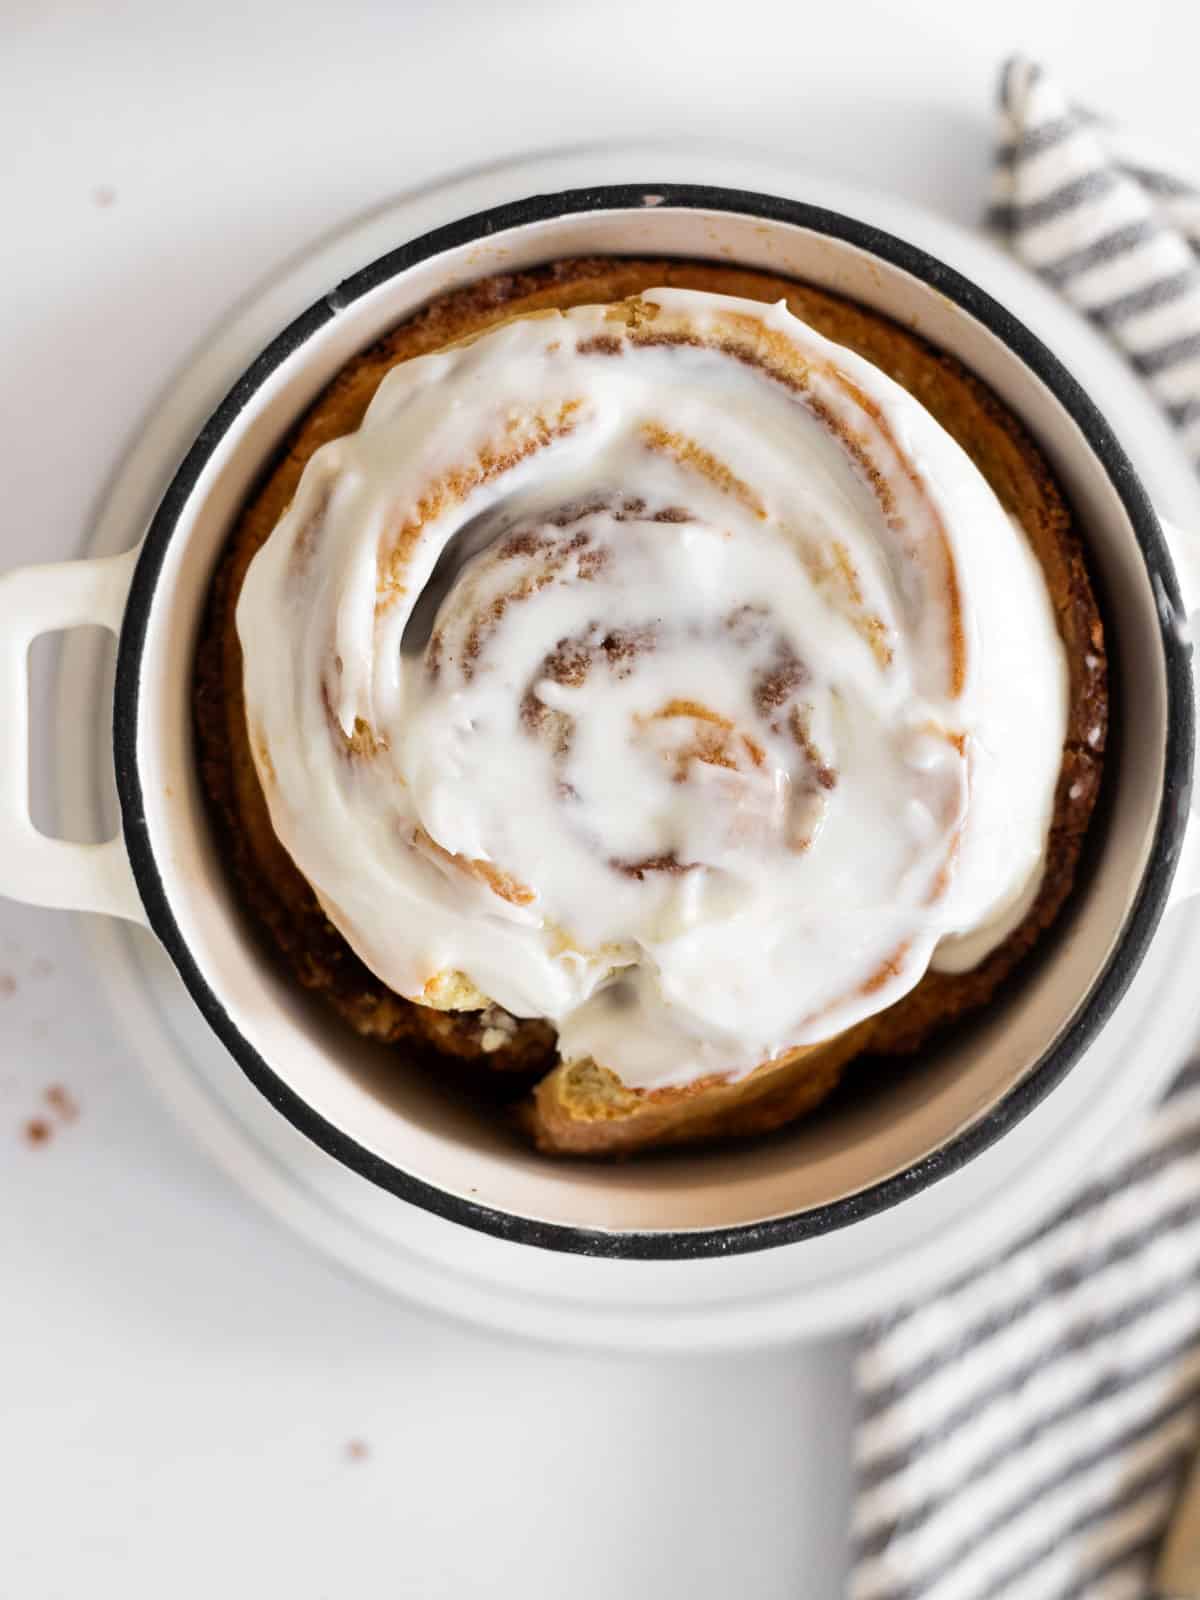
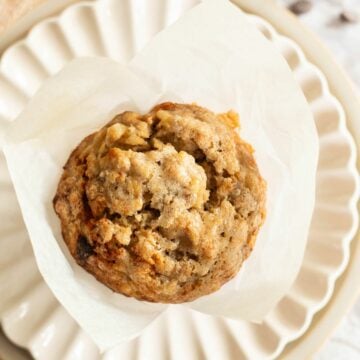
Have you ever had a craving for cinnamon rolls, but don't want to make a whole batch? If that's you, then this easy single serve cinnamon roll is for you! This recipe is simple, indulgent, and sure to satisfy all your cinnamon roll cravings without tempting you to eat a whole batch!
Jump to:
I just know that you'll LOVE this recipe for an individual cinnamon roll. The dough is perfectly fluffy, the filling is sweet and bursting with cinnamon flavor, and, best of all, its topped with a delicious cream cheese frosting.
What I love most about this roll is that it's quick (ready in under an hour!) and is made with baking powder so no yeast needed, AND it only makes one roll instead of an having an entire batch sitting around your house.
For more cinnamon deliciousness, try this small batch coffee cake also!
Why You'll Love This Single Serve Cinnamon Roll
- It's perfect for one person (or two if you want to be kind 😉)
- This single cinnamon roll takes less than 1 hour
- You only need a few pantry staple ingredients
- It's soft, fluffy, and super ooey gooey in the center
- You can top this cinnamon roll with a cream cheese glaze for even more decadence!
Key Ingredients Needed
*for the full list of ingredients and measurements, see recipe card below*
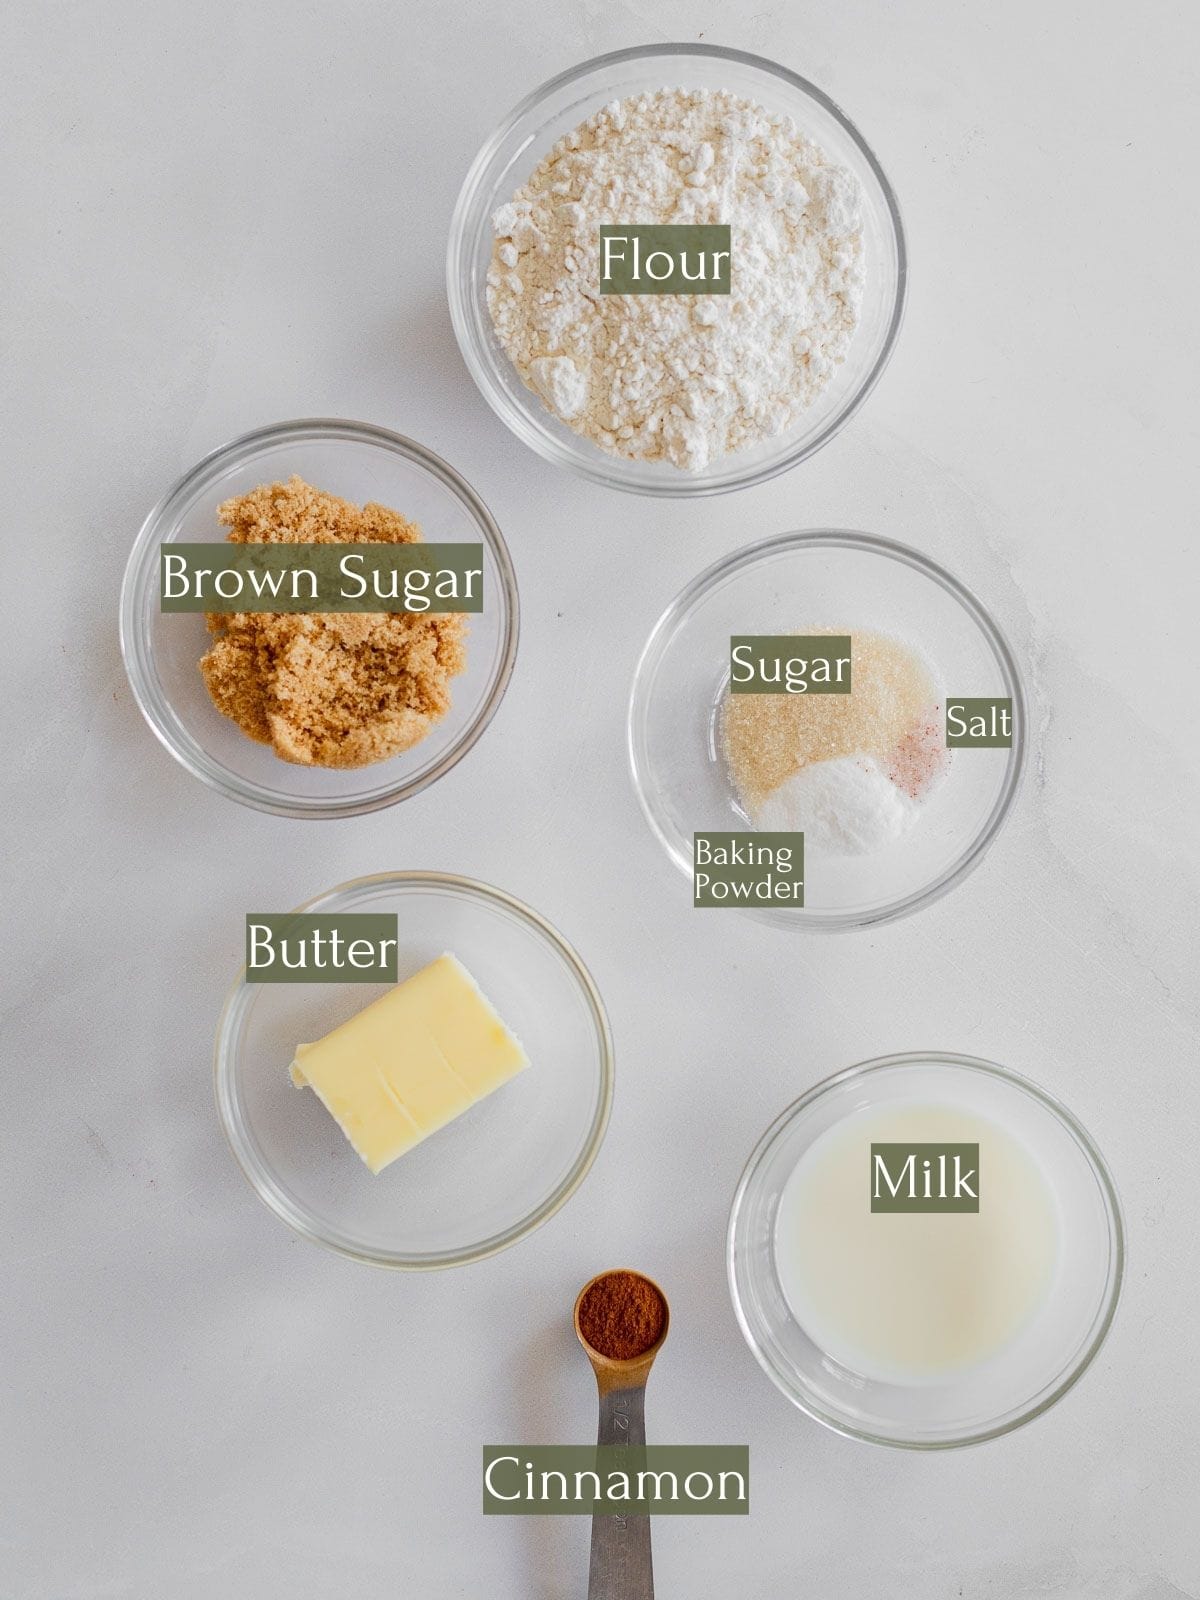
- Baking powder: Make sure it's not expired before you use it! You'll need this to help the dough rise.
- Milk: I prefer to use whole milk because the fat content helps to make this roll fluffy
- Sugars: You'll need both brown sugar and white sugar. White sugar for the dough and brown sugar for the filling!
- Bread flour: I prefer to use bread flour because of its higher protein content. If you don't have bread flour, all purpose flour is a good substitute
- Butter: I typically use salted butter, but unsalted works well too
- Cinnamon: You can't make a single cinnamon roll without the cinnamon!
- Powdered sugar: For a glaze, powdered sugar is best because it keeps the glaze smooth and not grainy.
How To Make A Single Serve Cinnamon Roll
Please note that these are steps are a brief overview of instruction. For the detailed instructions please see recipe card below.
STEP ONE: Preheat your oven to 350°F and spray a ramekin with non-stick cooking spray
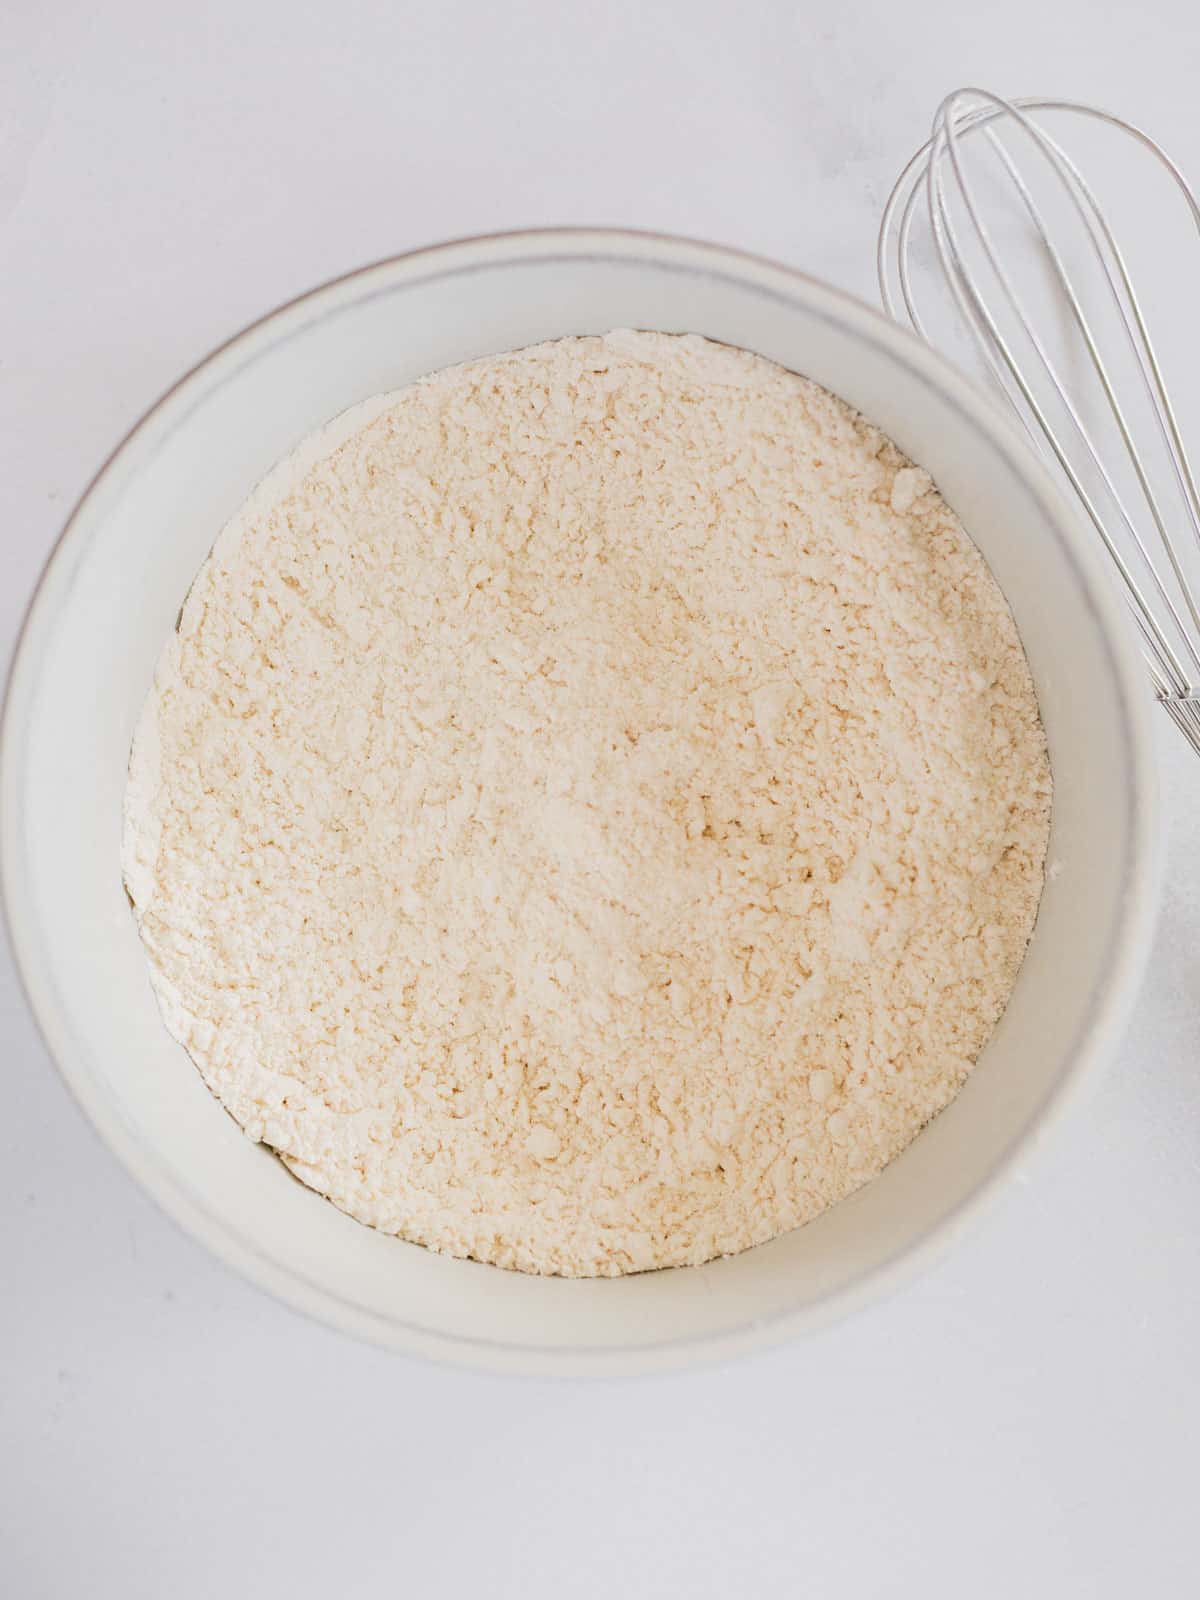
STEP TWO: In a medium sized mixing bowl, whisk together the dry ingredients.
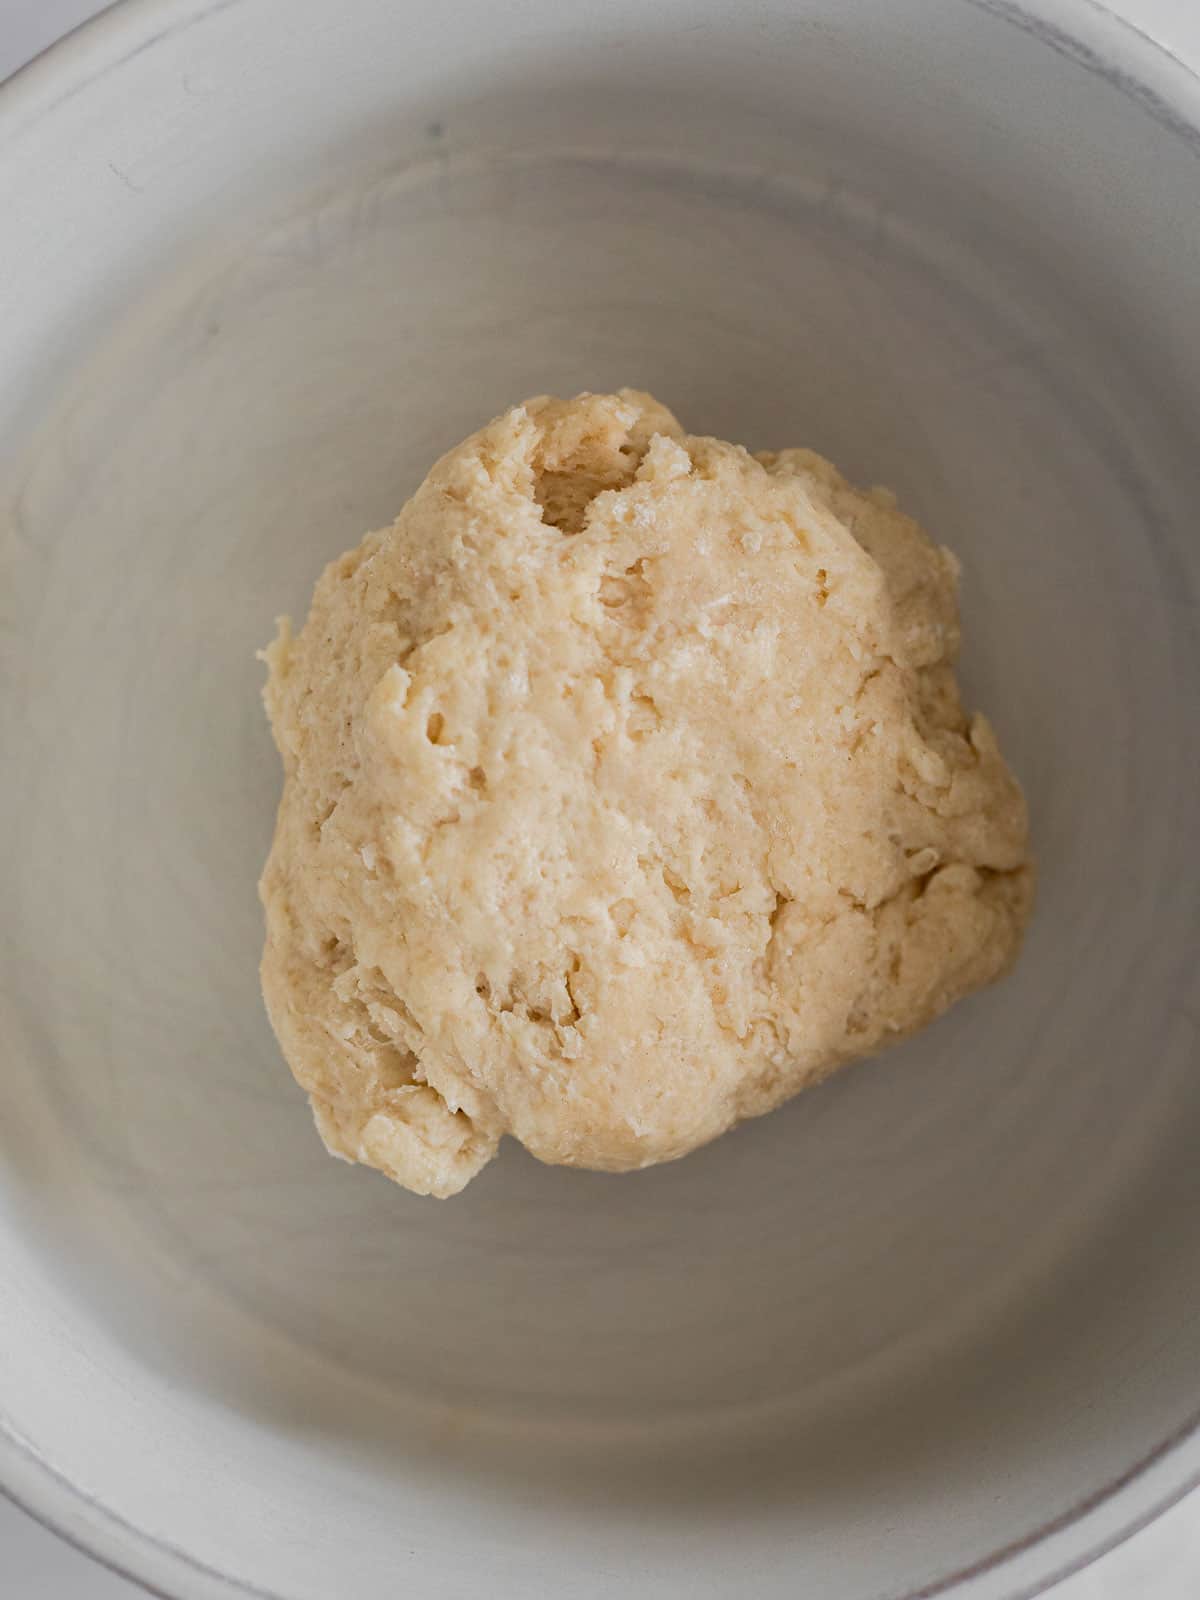
STEP THREE: To the dry ingredients add in the softened butter and milk. Stir until a soft dough forms.
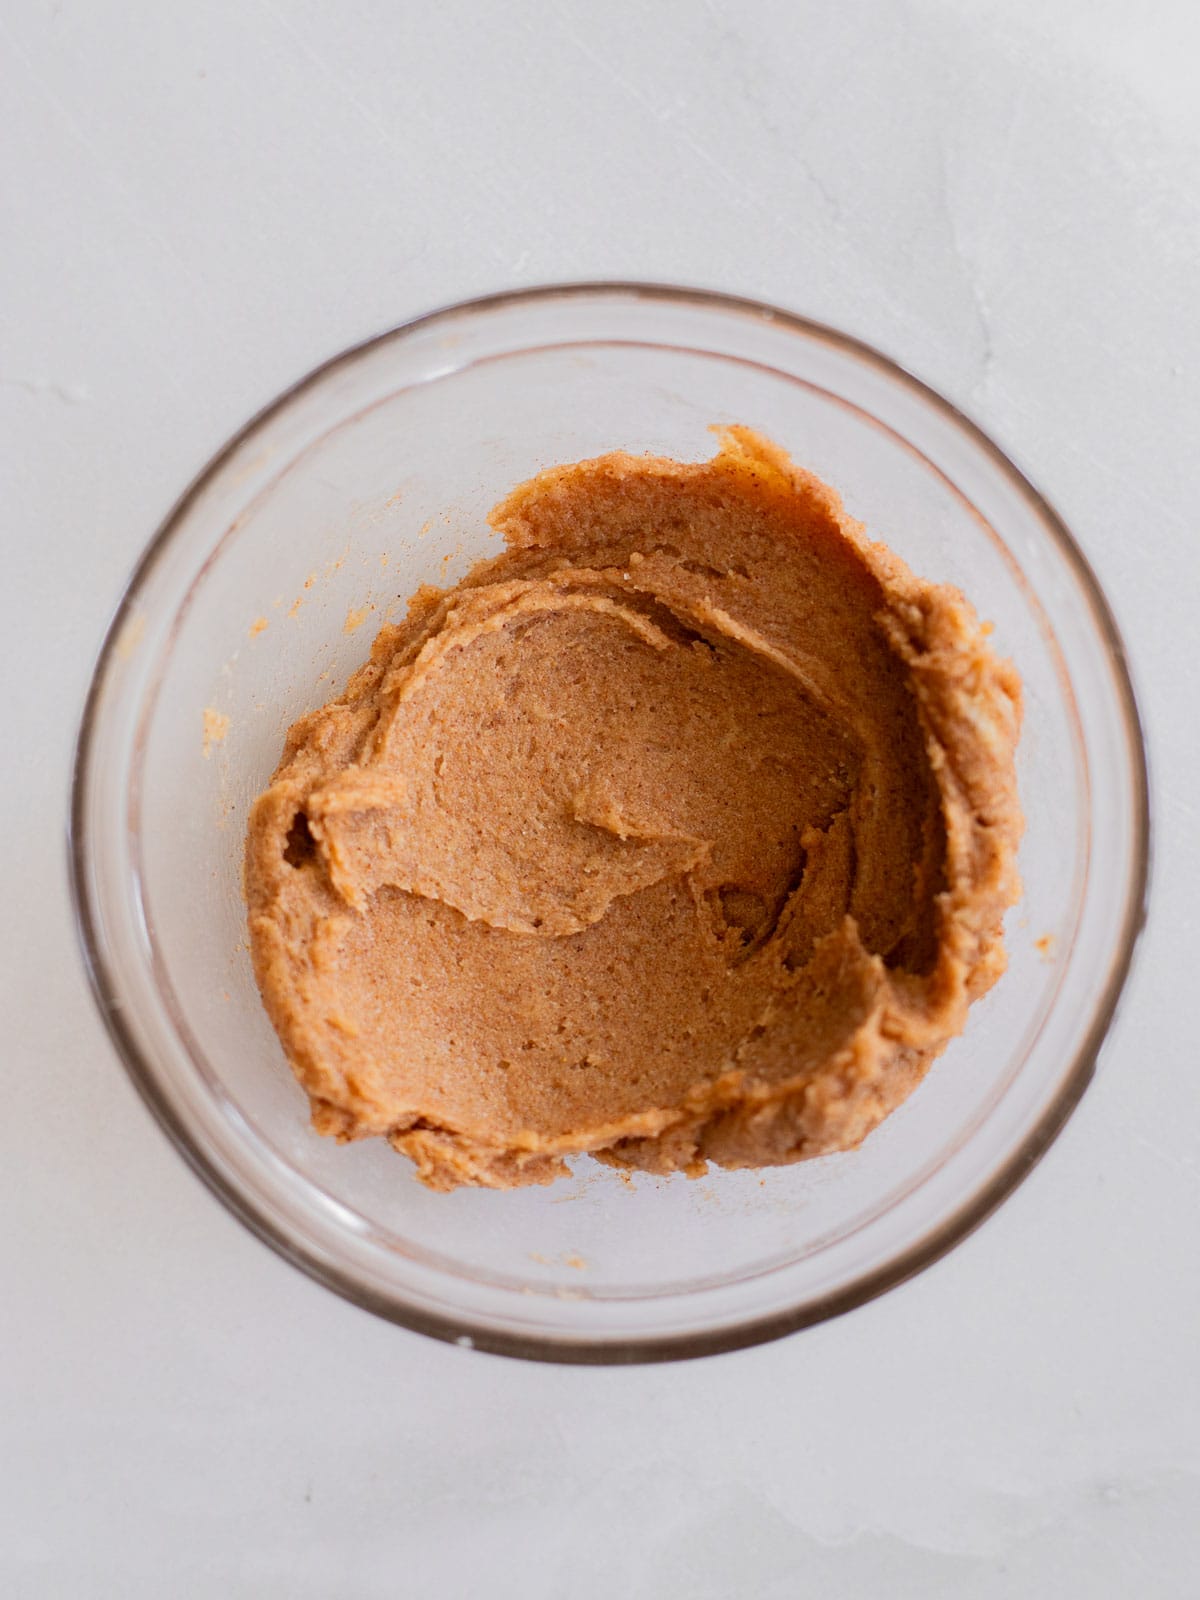
STEP FOUR: Set the dough aside to rest and make the filling. In a small mixing bowl, stir together the softened butter, brown sugar, and ground cinnamon. Mix well.
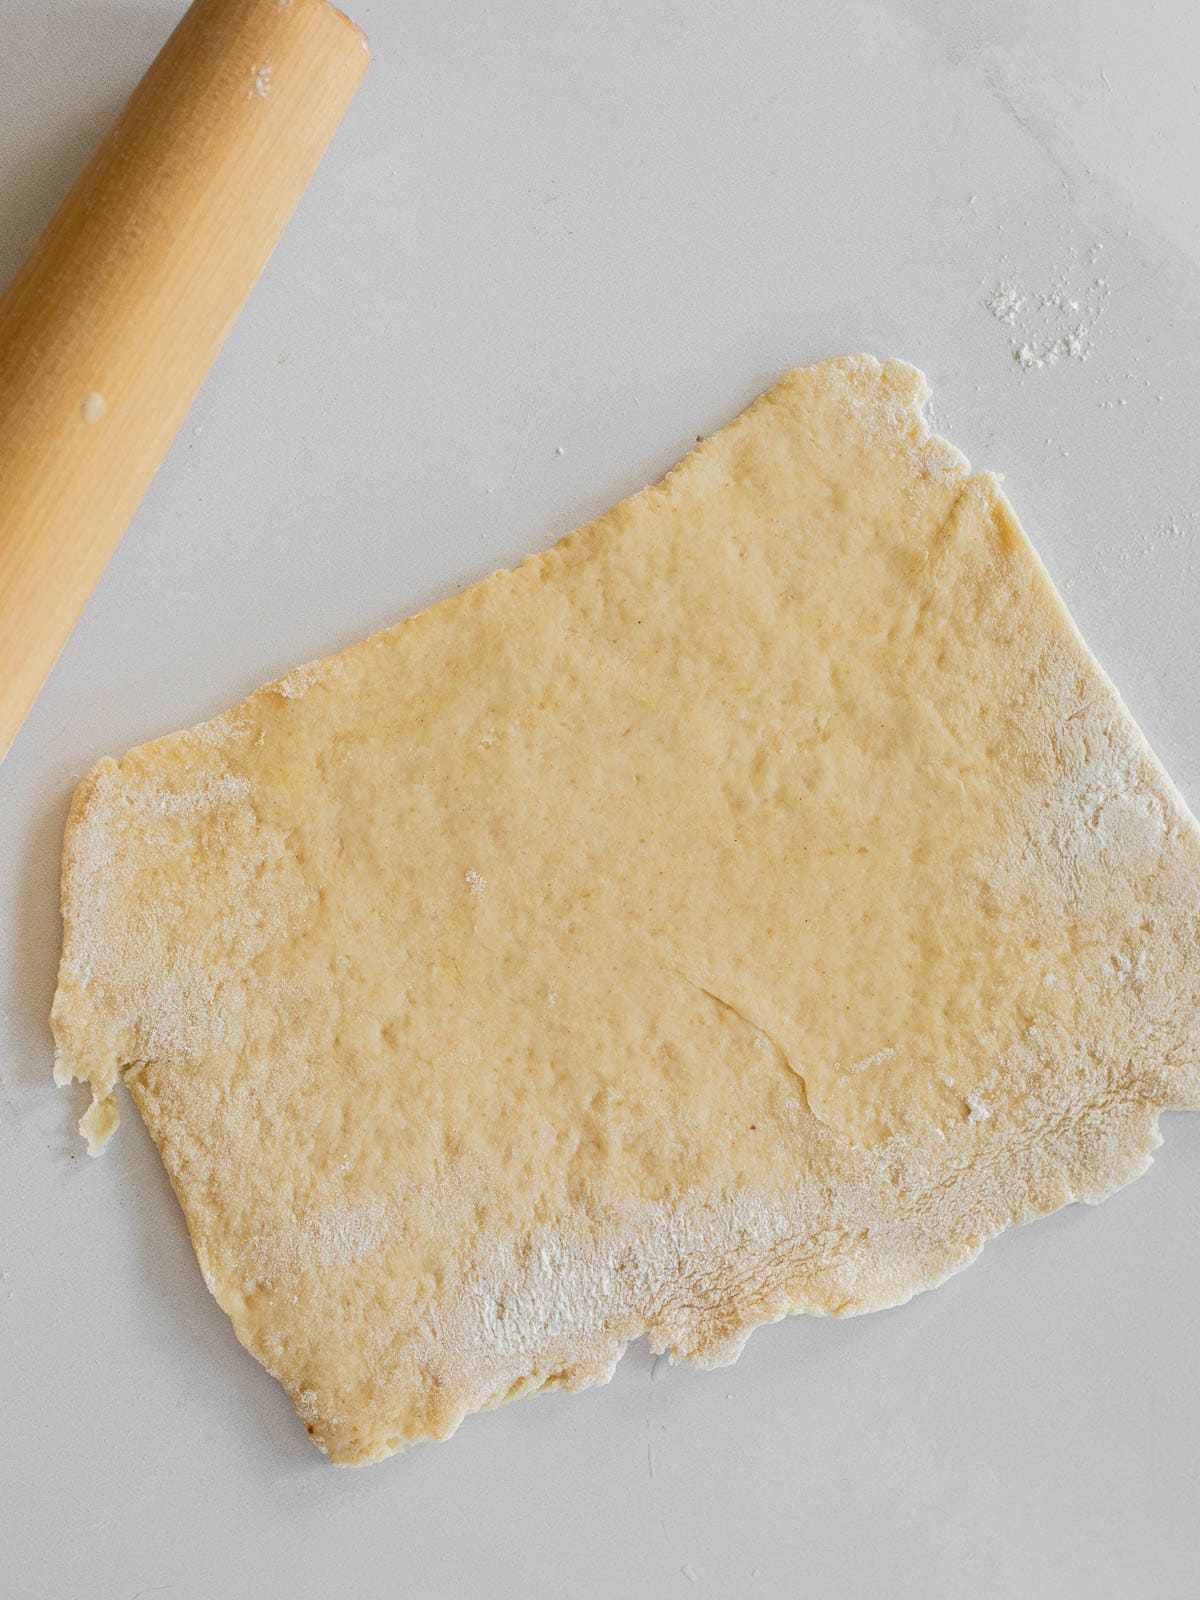
STEP FIVE: On a lightly floured countertop, roll the dough out into a 5x8 inch rectangle and use an offset spatula to spread the filling evenly over the dough
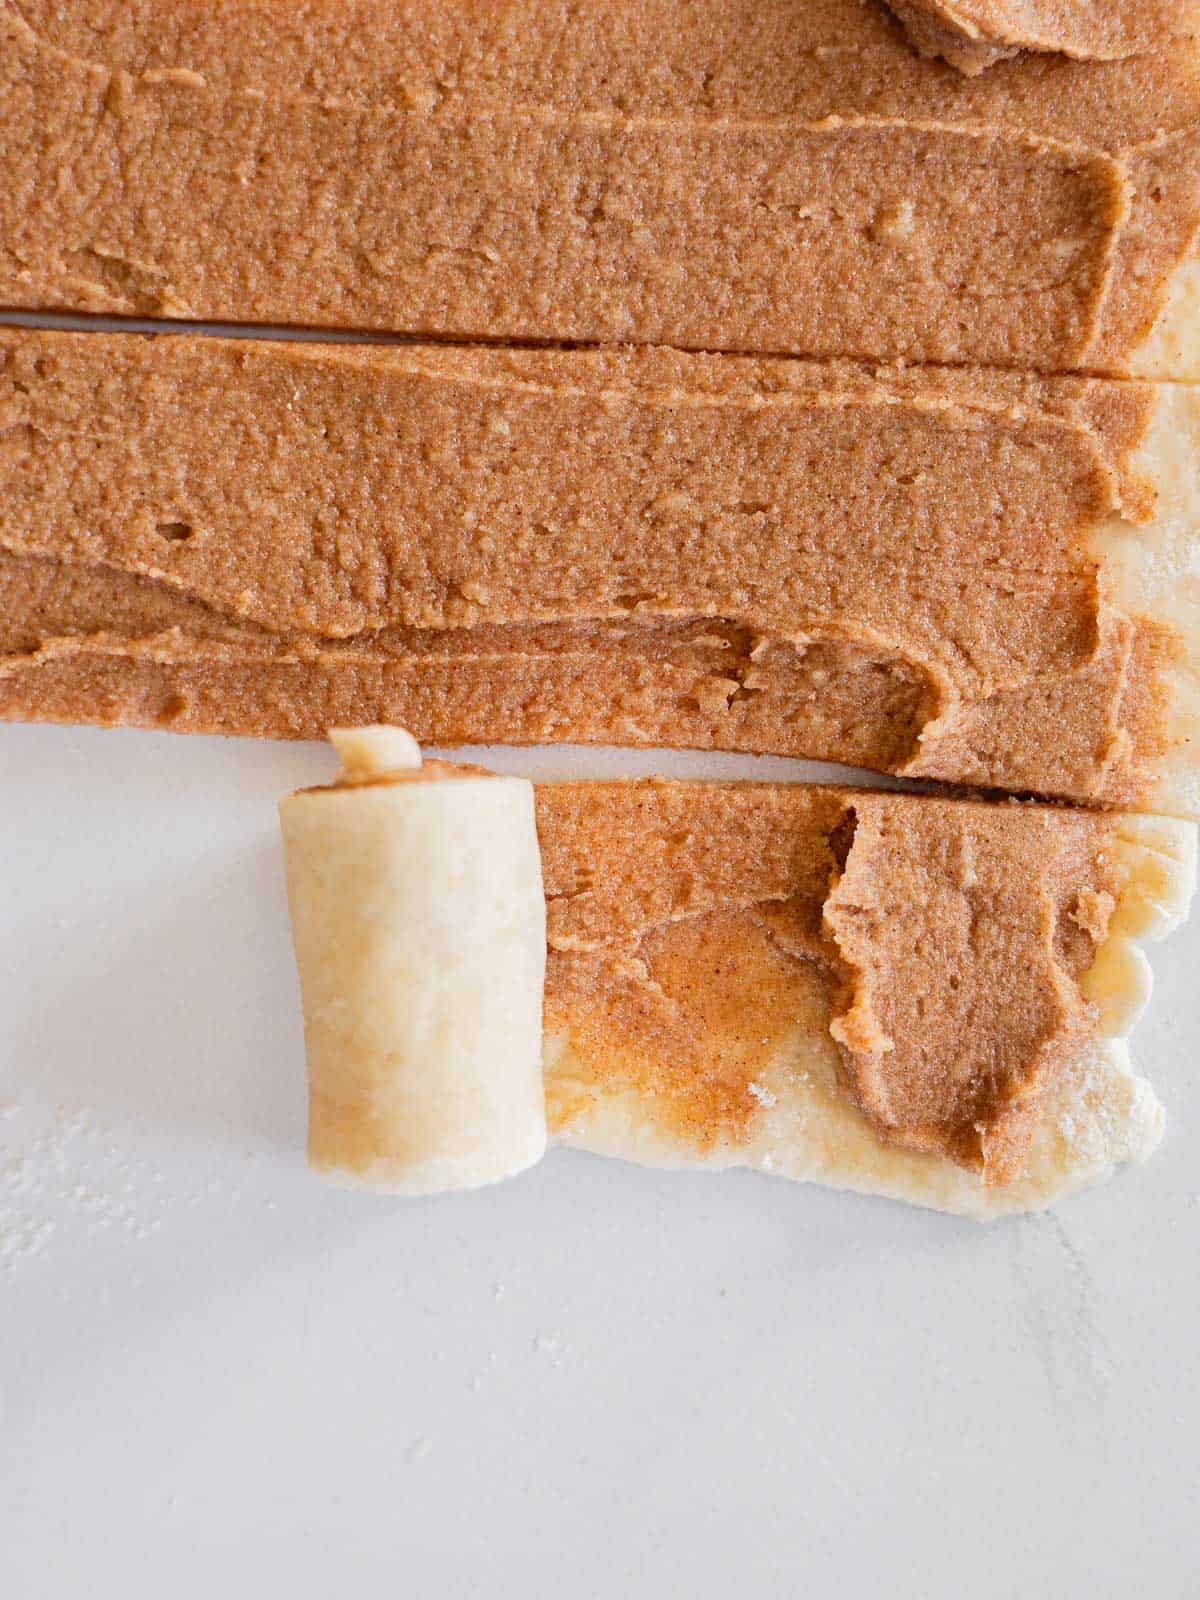
STEP SIX: Cut the rectangle into 3 strips (lengthwise). Starting with the first strip, roll it up into a spiral. Once the first strip is rolled up completely, place it onto the end of the second strip and roll again. Do the same thing with the third strip so that you end up with one large cinnamon roll.
STEP SEVEN: Place your single roll into the prepared ramekin and bake for 15-18 minutes.
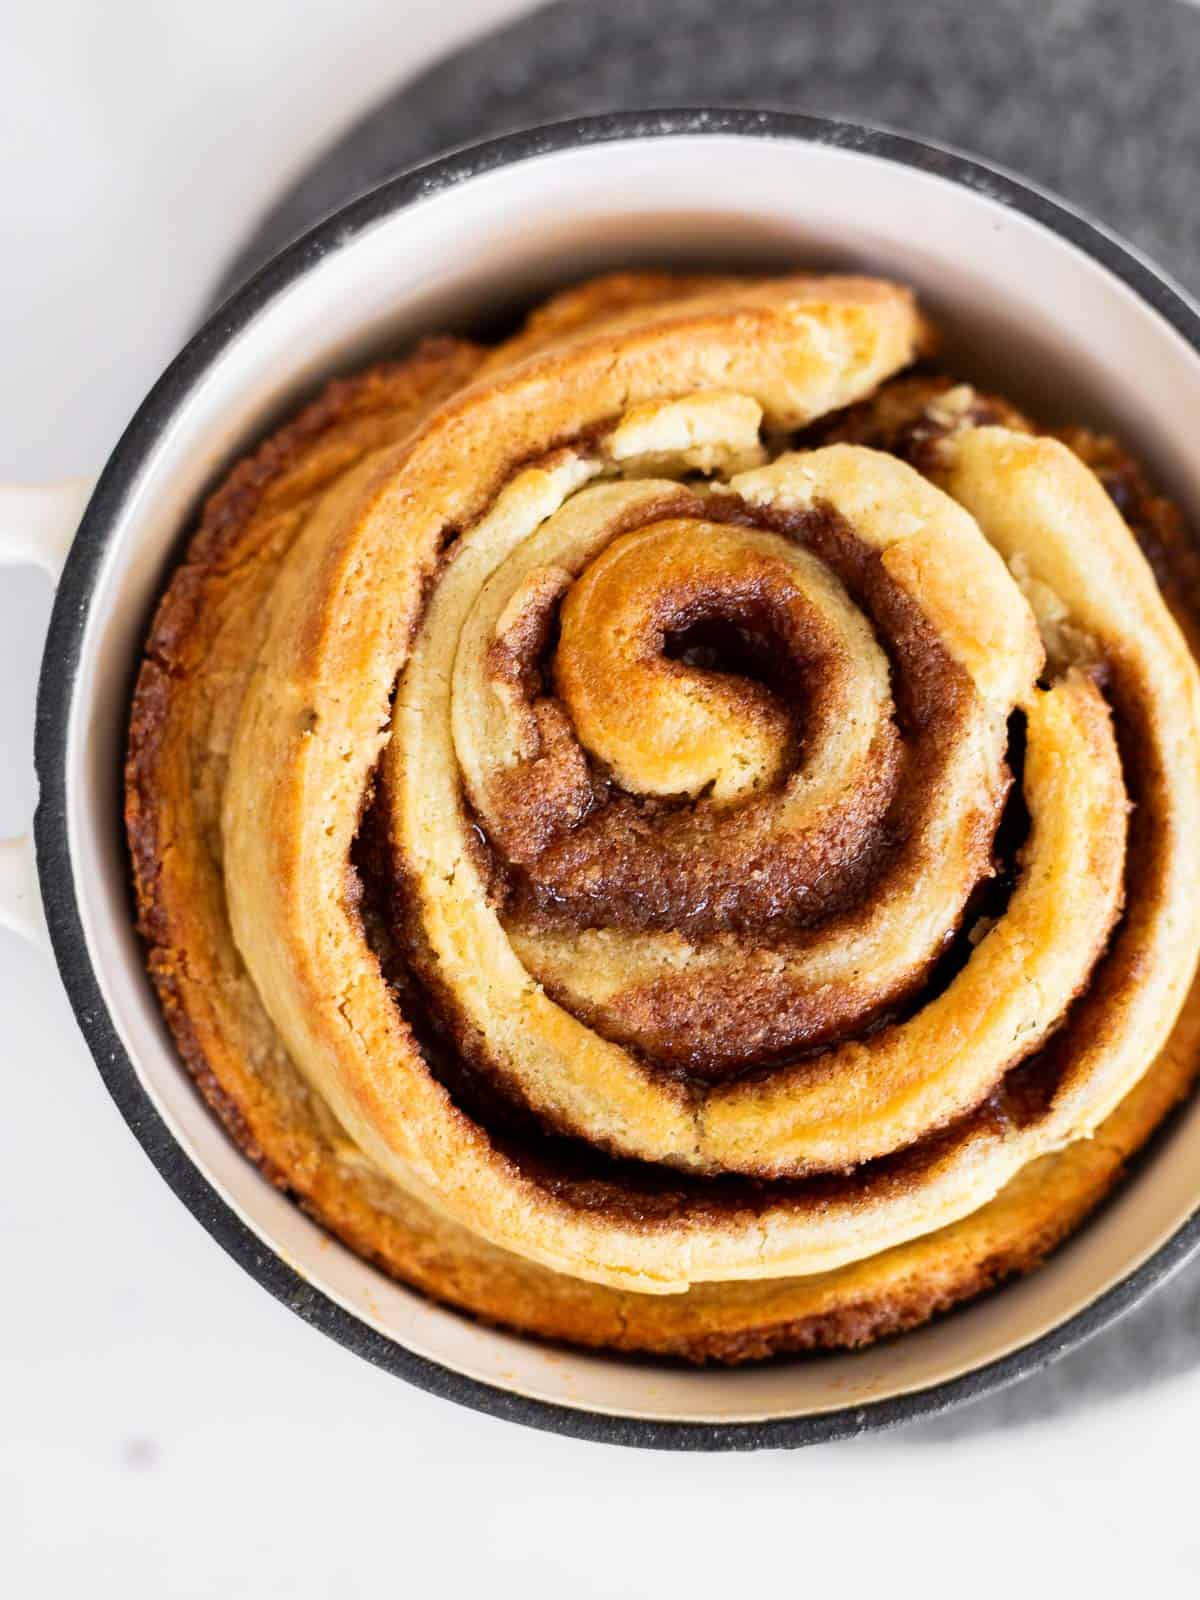
STEP EIGHT: Carefully take it out of the oven and allow to cool for 10-15 minutes before enjoying your single serve cinnamon roll.
Expert Baking Tips
- Measure properly: The recipe is listed in grams for the most accurate measurements.
- Knead well: The dough need to be kneaded well to activate the gluten proteins and help make the dough chewy.
- Slightly underbake: If you want a super ooey gooey center, under bake this personal cinnamon roll just barely.
- Let it cool for 15 minutes: Trust me, I know it's tempting to eat this right out of the oven. However, it really needs to cool for 10-15 minutes for the best flavor and so you won't burn yourself!
FAQs
I have not tried this method because I prefer the oven. The microwave can get a bit tricky and sometimes make the dough too tough and chewy.
A cinnamon bun often includes nuts while a cinnamon roll is traditionally nut free.
Yes, swap the all purpose flour with Bob's Red Mill 1:1 Gluten free all purpose flour with xanthan gum.
Do not use almond, oat, or coconut flour because the dough will not work.
While I personally haven't tested it, you should be able to swap the milk for a plant based milk and the butter for a vegan butter.
If you do try it, be sure to leave a comment down below and let me know how it worked!
Storing Instructions
If there's any leftover, what I like to do is just cover the ramekin tightly with plastic wrap and store in the fridge for up to 2 days.
This single serve cinnamon roll tastes best when warm, so I like to microwave it for 15-30 seconds to reheat it.
a quick note about baking in grams...
You may notice that my recipes are listed in grams instead of cups. That's because it's really the most accurate way to measure and bake exceptional treats every time with little room for error.
While the recipe card does have an option for you to switch from Metric measurements to US measurements, I personally have not tested the switch. I recommend purchasing a $10 scale from Amazon and simplifying your life!
More Small Batch Recipes You'll Love
- Small Batch Brownies
- 6 Chocolate Chip Cookies
- Small Batch Coffee Cake
- The best small batch sugar cookies
Did you make this Single Serve Cinnamon Roll? If so, I would appreciate you leaving a comment and star rating down below.
Additionally, follow me on Instagram (@coleinthekitchen), Pinterest, Facebook, or sign up for emails so you never miss a new recipe!
Happy Baking!
PrintBEST Single Serve Cinnamon Roll

Have you ever had a craving for cinnamon rolls, but don't want to make a whole batch? If that's you, then this easy single serve cinnamon roll is for you! This recipe is simple, indulgent, and sure to satisfy all your cinnamon roll cravings.
- Prep Time: 10 Minutes
- Cook Time: 18 minutes
- Total Time: 28 minutes
- Yield: 1 Serving 1x
- Category: Quick bread
- Method: Baking
- Cuisine: American
Ingredients
For The Dough:
- ½ cup bread flour (all purpose flour will also work!)
- 1 teaspoon granulated sugar
- ½ teaspoon baking powder
- ⅛ teaspoon kosher salt
- 1 tablespoon softened butter
- 2 tablespoons room temperature milk
For The Filling:
- 2 tablespoons softened butter
- 2 tablespoons light brown sugar
- ½ teaspoon ground cinnamon
Optional Glaze:
- 2 tablespoons powdered sugar
- ½ teaspoon vanilla extract
- ½ teaspoon milk (or more as needed)
Instructions
- Preheat your oven to 350°F and spray a ramekin with non-stick cooking spray
- In a medium sized mixing bowl, stir together bread flour, sugar, baking powder, and salt.
- To the dry ingredients add in the softened butter and milk. Stir until a soft dough forms. (if too dry, add milk ½ teaspoon at a time. If too sticky, add in more bread flour 1 teaspoon at a time)
- Set the dough aside to rest and make the filling. In a small mixing bowl, stir together the softened butter, brown sugar, and ground cinnamon. Mix until fully combined.
- On a lightly floured countertop, roll the dough out into a 5x8 inch rectangle and use your fingers or an offset spatula to spread the filling evenly over the dough
- Cut the rectangle into 3 strips (lengthwise).
- Starting with the first strip, roll it up into a spiral. Once the first strip is rolled up completely, place it onto the end of the second strip and roll again. Do the same thing with the third strip so that you end up with one large cinnamon roll.
- Place your single roll into the prepared ramekin and bake for 15-18 minutes, or until the top is golden brown but the middle is still gooey
- Carefully take it out of the oven and allow to cool for 10-15 minutes
- Drizzle the glaze over top if desired, then dig in and enjoy your single serve cinnamon roll
Notes
- Make sure your milk isn't too hot: If it's too hot, the yeast will die and the roll will not rise.
- Measure properly: The recipe is listed in grams for the most accurate measurements.
- Knead well: Yeasted doughs need to be kneaded well to activate the gluten proteins and help make the dough chewy.
- Slightly underbake: If you want a super ooey gooey center, under bake this personal cinnamon roll just barely.
- Let it cool for 15 minutes: Trust me, I know it's tempting to eat this right out of the oven. However, it really needs to cool for 10-15 minutes for the best flavor and so you won't burn yourself!
Leave a Reply