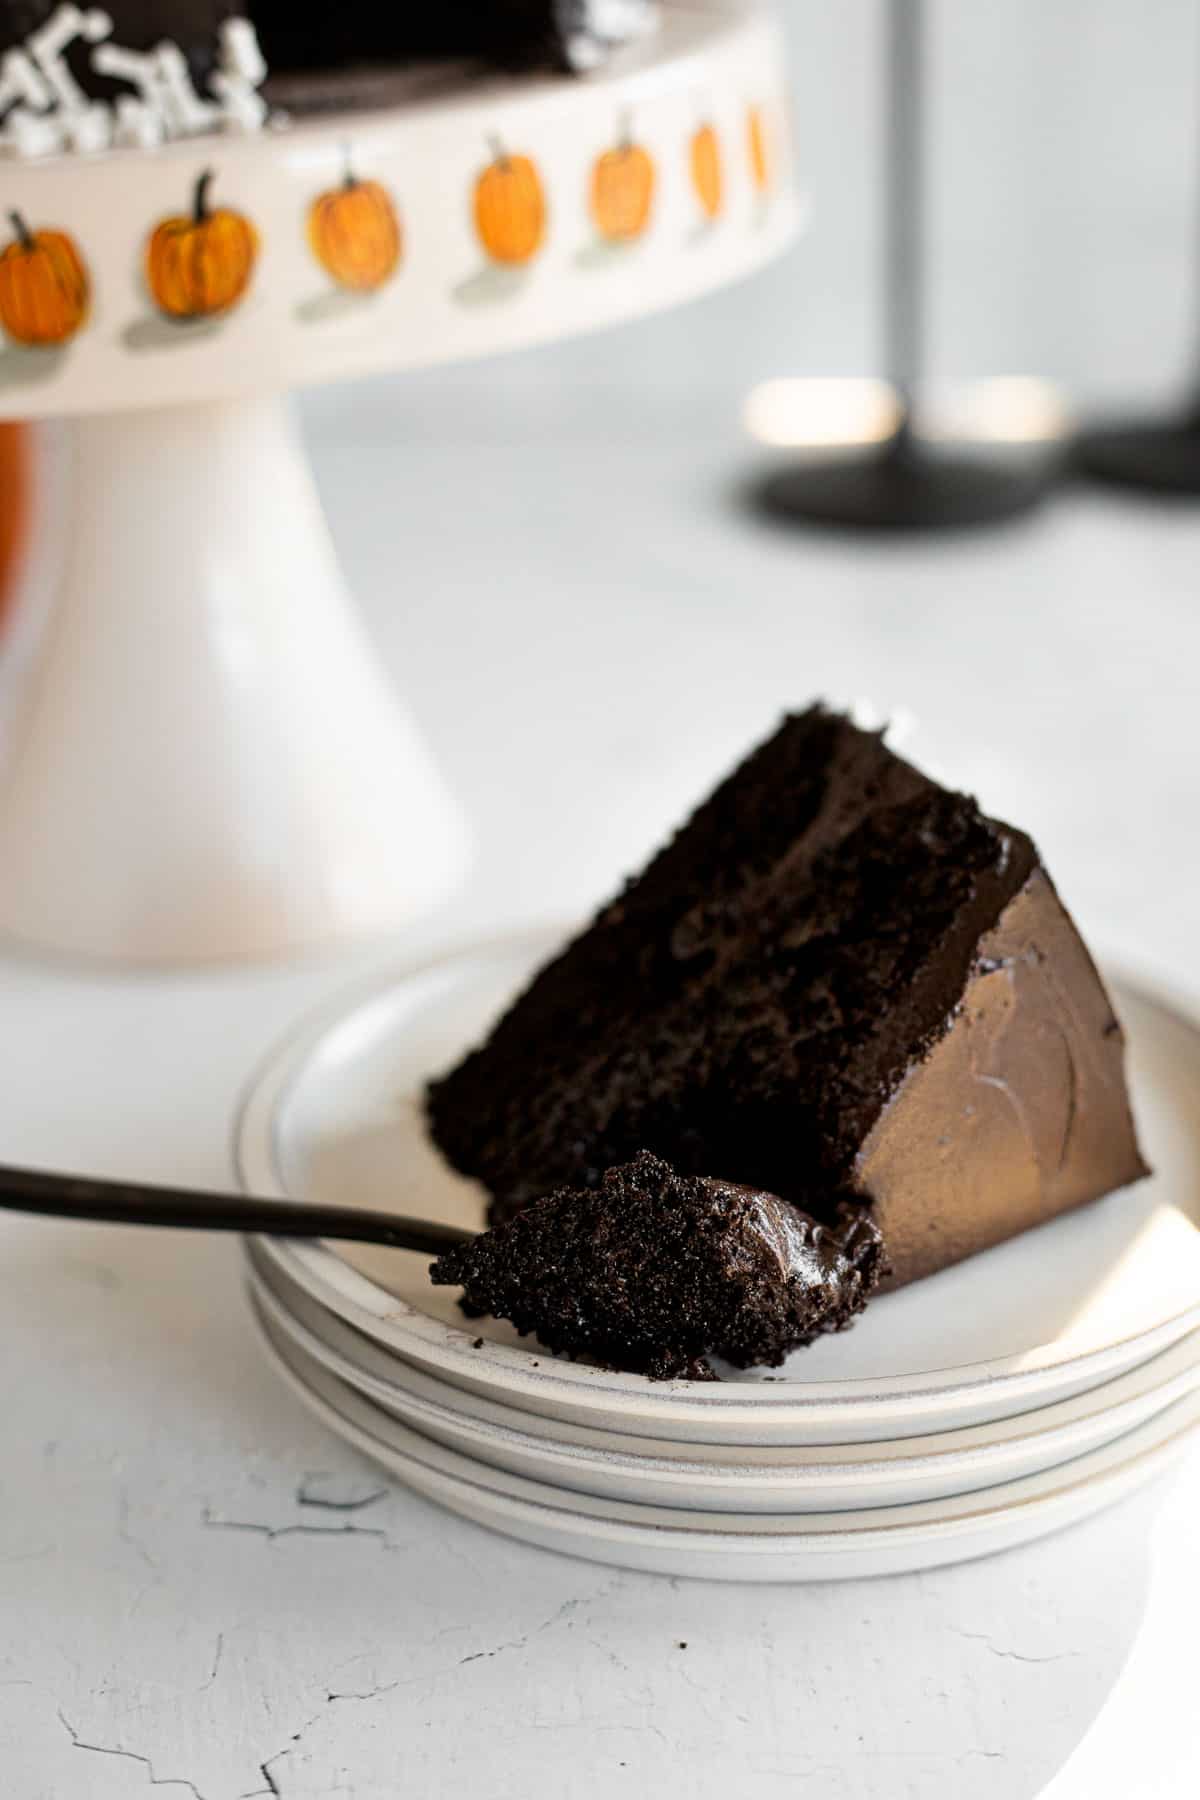
This is the BEST Black Velvet Cake! Two layers of moist, tender, cake that is naturally black (no food dye needed), and tastes reminiscent of Oreos. This is a simple, one bowl recipe that bakes up in less than 30 minutes and is perfect for your Halloween festivities!
Jump to:
- What is black cocoa powder?
- Where can I find black cocoa powder?
- Why You'll Love This Recipe
- Key Ingredients Needed
- How To Make The Best Black Velvet Cake
- Decorating Ideas
- Substitutions and Variations
- Expert Baking Tips
- Frequently Asked Questions
- Storing Instructions
- A quick note about baking in grams...
- More Halloween Recipes You'll Love!
- Best Ever Black Velvet Cake
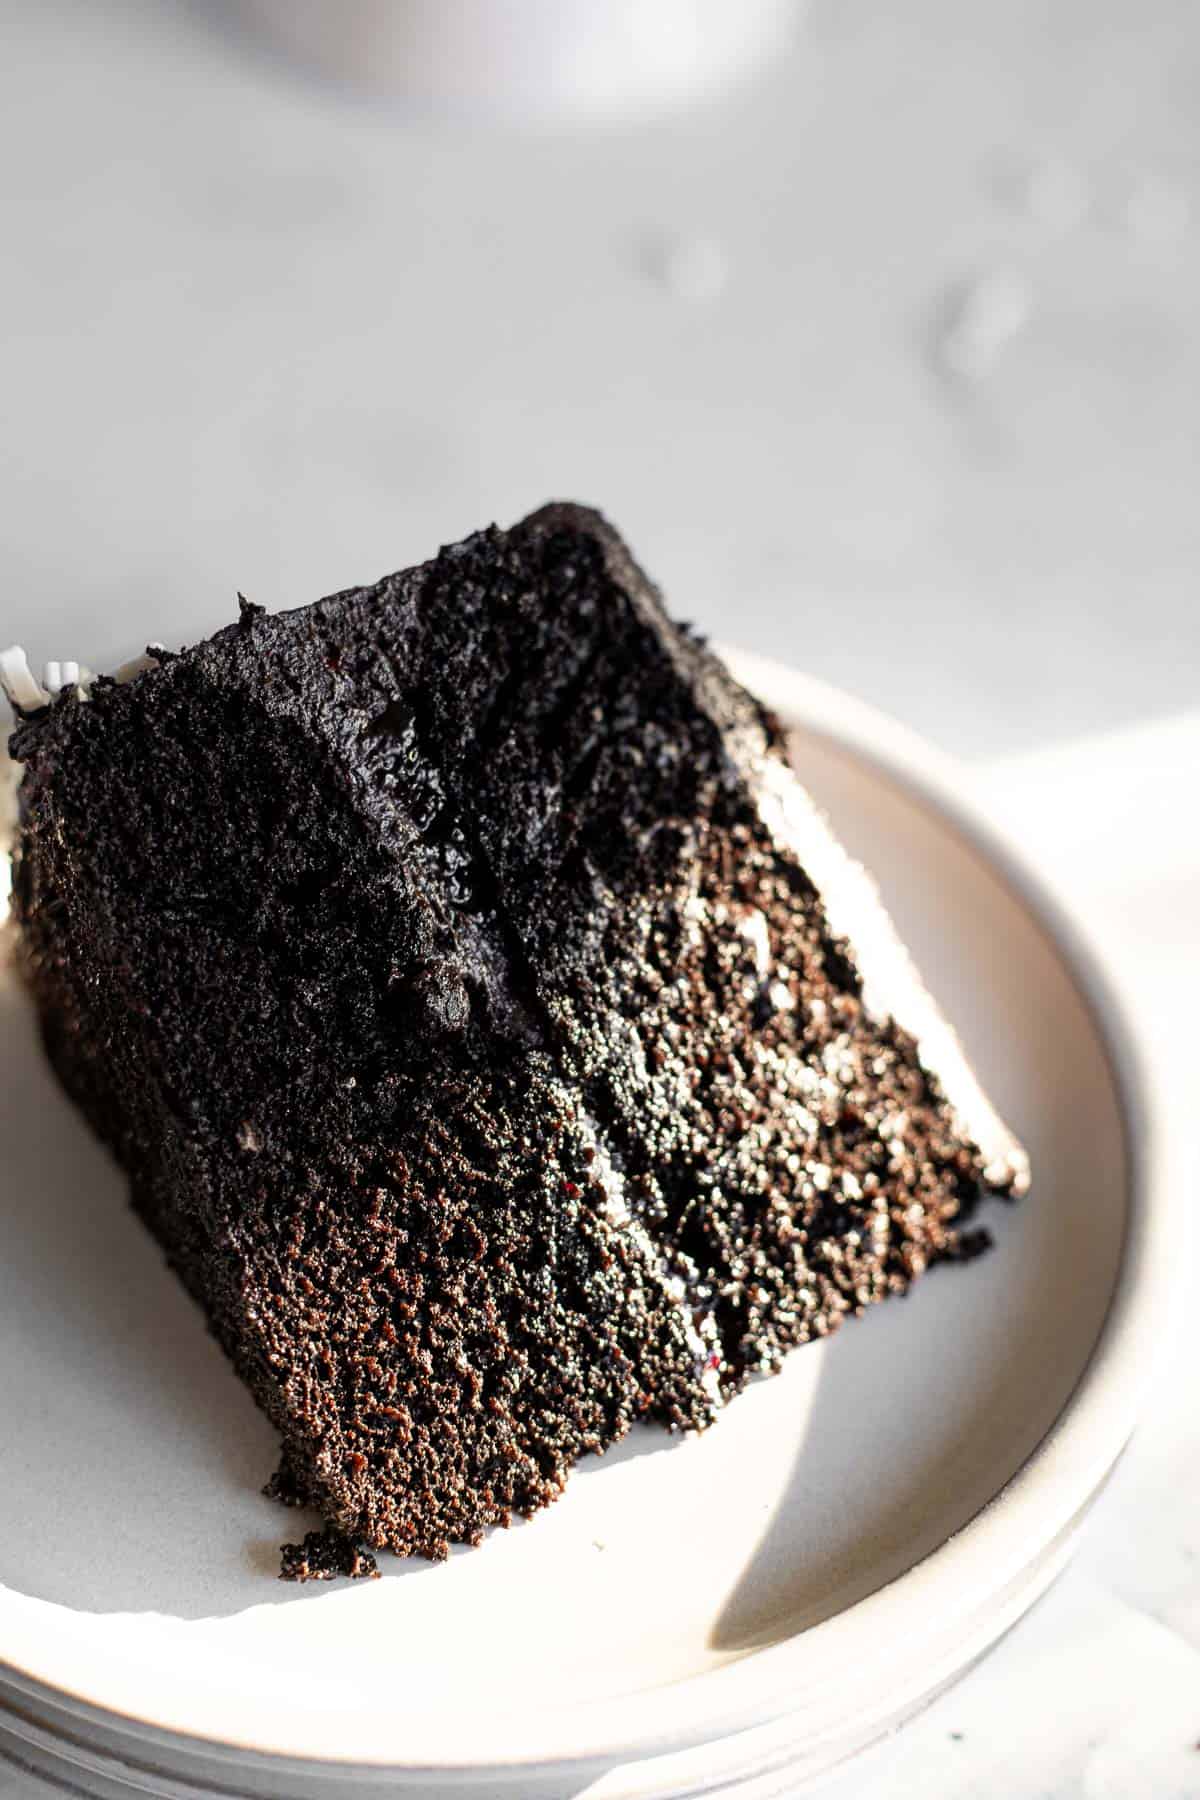
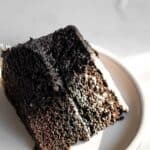
Looking for a scary good cake to make for your Halloween party? Look no further than this AMAZING Black Velvet Layer Cake!
Two layers of moist, rich, decadently dark chocolate cake with fluffy black cocoa buttercream. This simple recipe comes together in one bowl, baked in under 25 minutes, and is a perfect treat for Halloween!
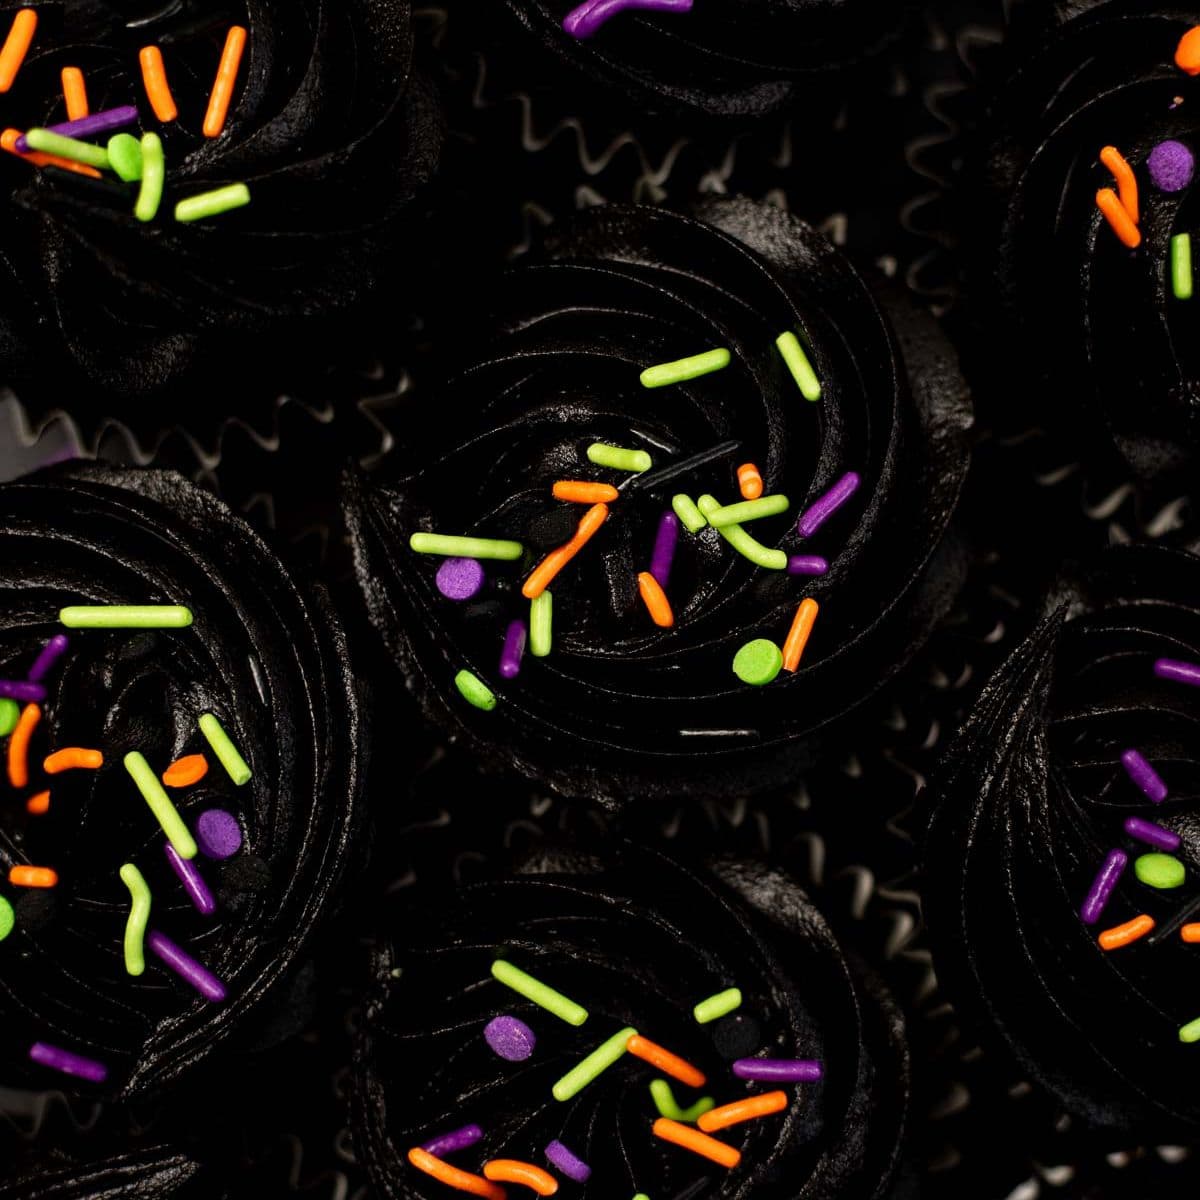
Want something similar? Try these Black Cocoa Cupcakes instead!
What is black cocoa powder?
Black cocoa powder is basically an ultra-Dutch processed cocoa powder. It's been treated with an alkaline solution to make it less acidic and bitter. That process also gives the black cocoa a smoother texture, that black color, and additionally, a richer taste that's like Oreos!
In most recipes you can substitute black cocoa powder with Dutch process cocoa powder, but regular, unsweetened cocoa powder is too acidic and not an equal substitution.
Where can I find black cocoa powder?
I've had luck finding it in specialty grocery stores. But, if you don't have one near you, you can always order it on Amazon or other online stores!
Why You'll Love This Recipe
- The Color: What I personally love most about this black velvet cake is that it's naturally colored using black cocoa powder. That means no black food dye that's going to stain your mouth!
- Cake is moist and tender: No dry chocolate cake here! Just a moist, tender, delicious cake that bakes in less than 25 minutes.
- Made in one bowl: Couldn't be easier to make, all you need is a bowl, a wooden spoon, and cake pans.
- A simple, two layer cake: No, it's not super fancy, but this cake is delicious! It's simple, sweet, and easy enough for any one at any baking level.
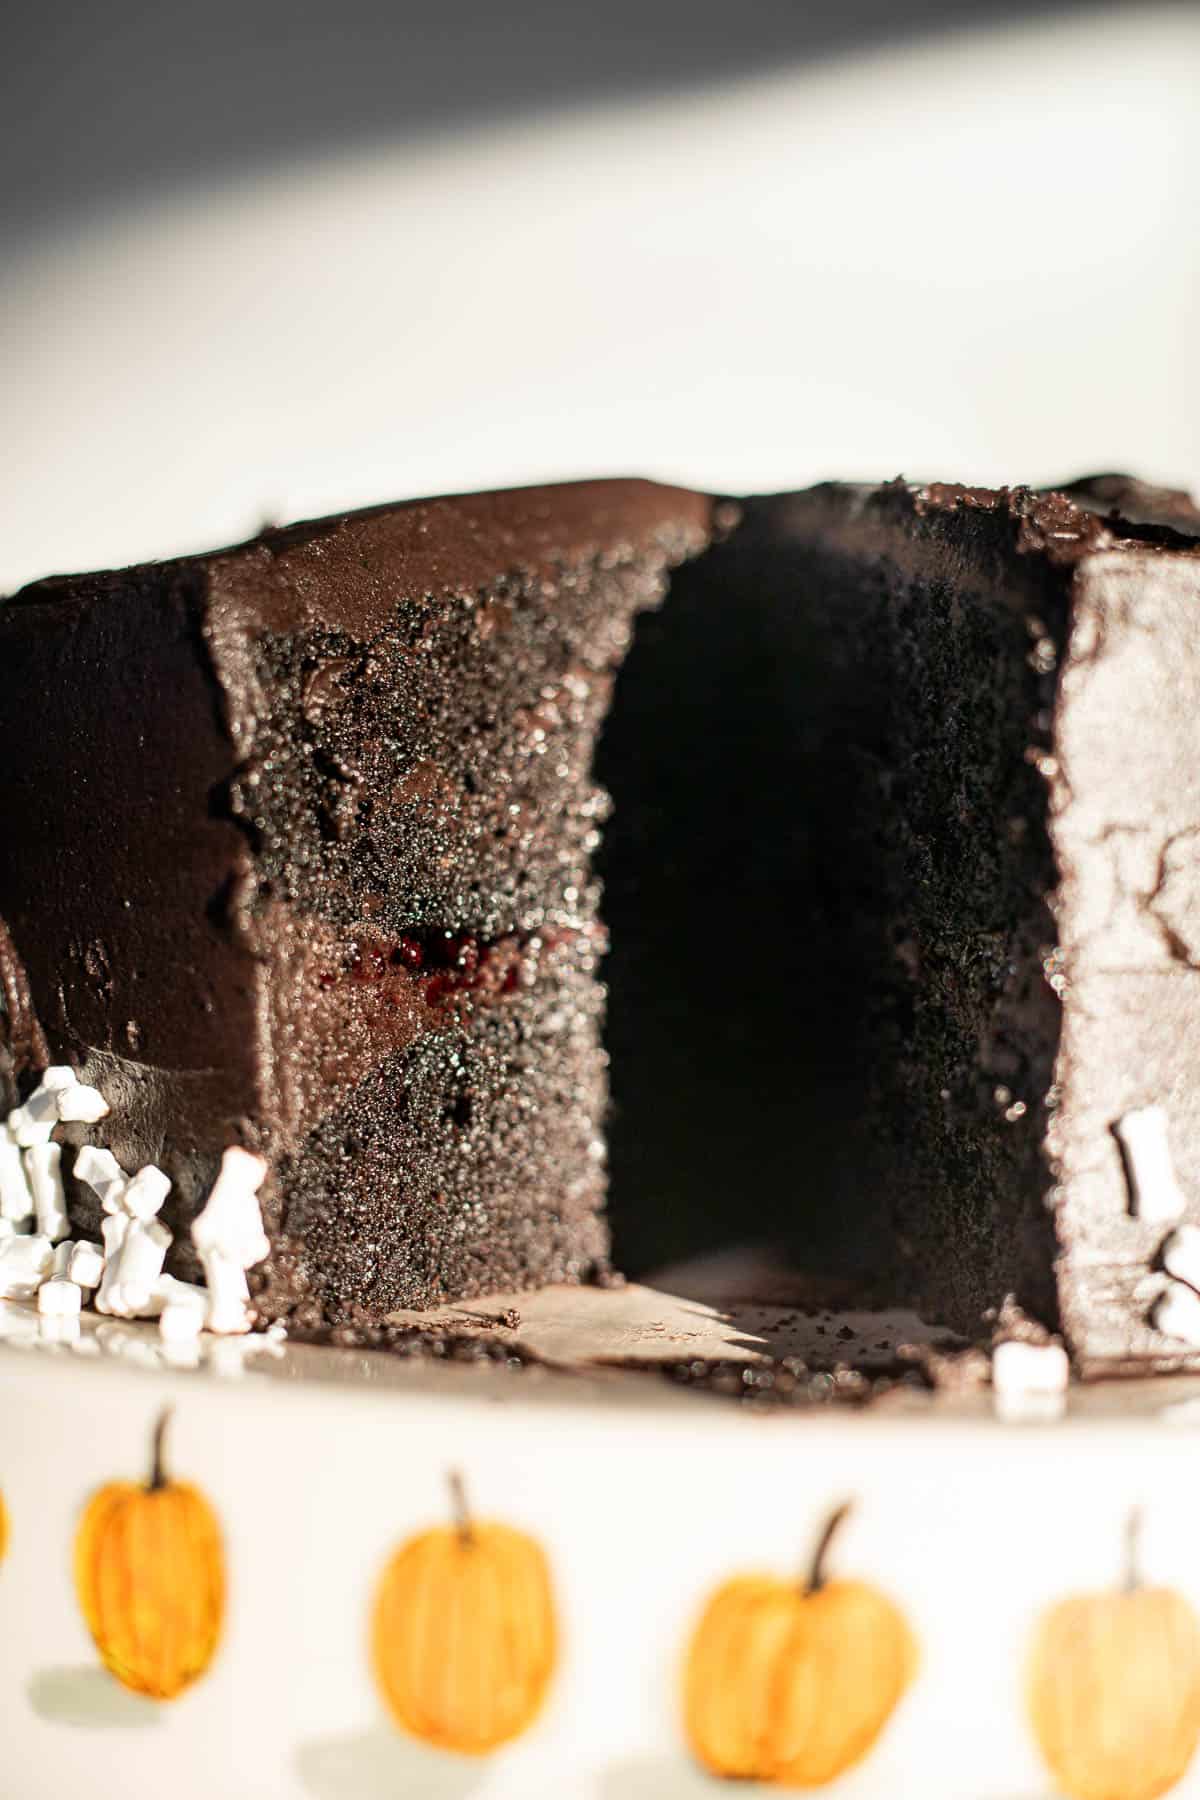
- Perfect for spooky Halloween parties: Being naturally black in color, this layer cake is great to serve at your next Halloween party! Decorate with Halloween inspired decor and enjoy.
Key Ingredients Needed
*for full list of ingredients and measurements see recipe card below*
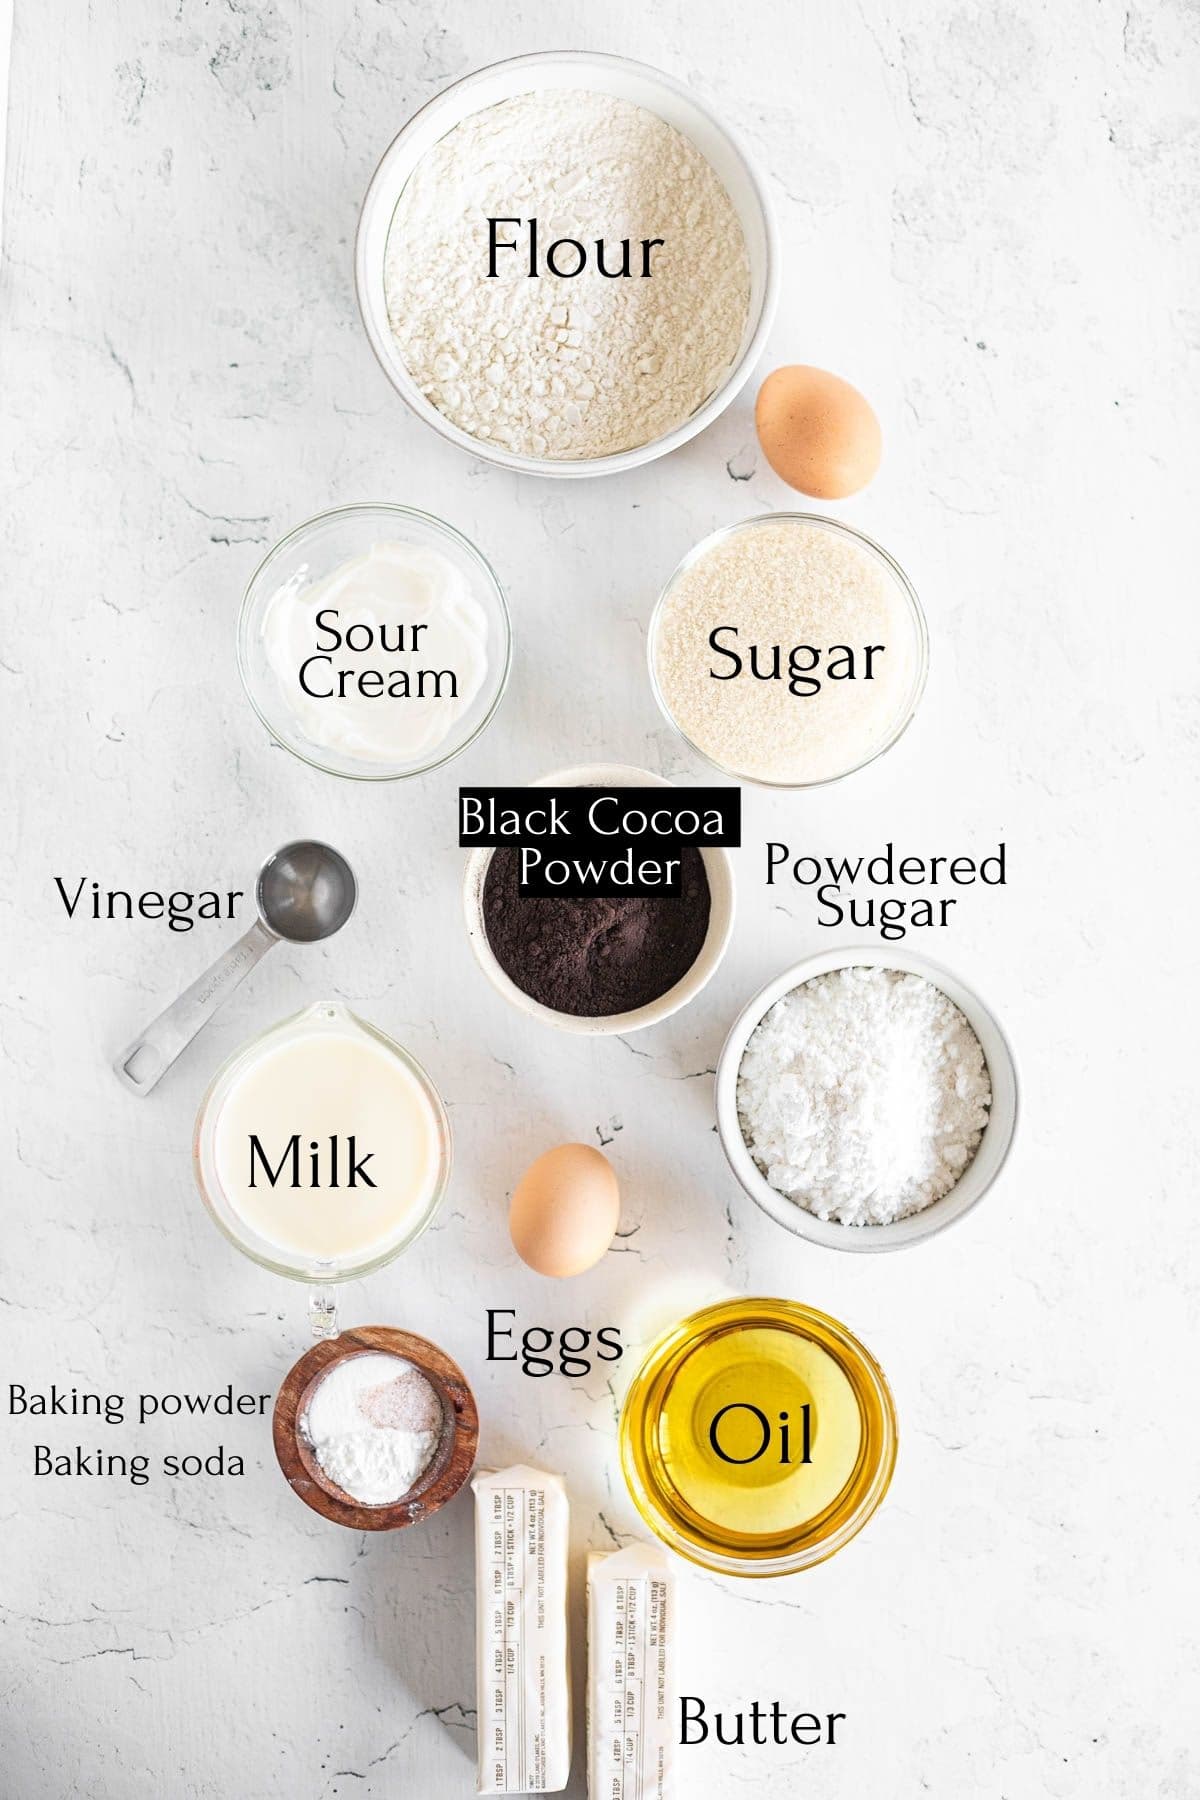
- Flour: For this cake, I've tested the recipe using a high quality all purpose flour. I don't suggest cake flour for this because it makes the crumb too delicate.
- Sugar: You'll need regular granulated sugar. Don't use brown sugar, a sugar substitute, or a liquid sugar like honey or syrup because it will not work.
- Black cocoa powder: You can't make a black velvet cake without black cocoa powder! I usually get mine on Amazon or a specialty grocery store.
- Oil: This layer cake is oil based to make it as moist and tender as possible.
- Eggs: Take the eggs out of the fridge 20-30 minutes before you plan on baking with them so they're room temperature.
- Sour cream: I added some sour cream to the chocolate cake batter because it adds nice moisture.
- Milk: You'll need whole milk for this recipe. Please do not use one with a lower fat percentage or a milk alternative.
- Vinegar: White vinegar reacts with the baking soda to help the cakes rise and give them that fluffy texture.
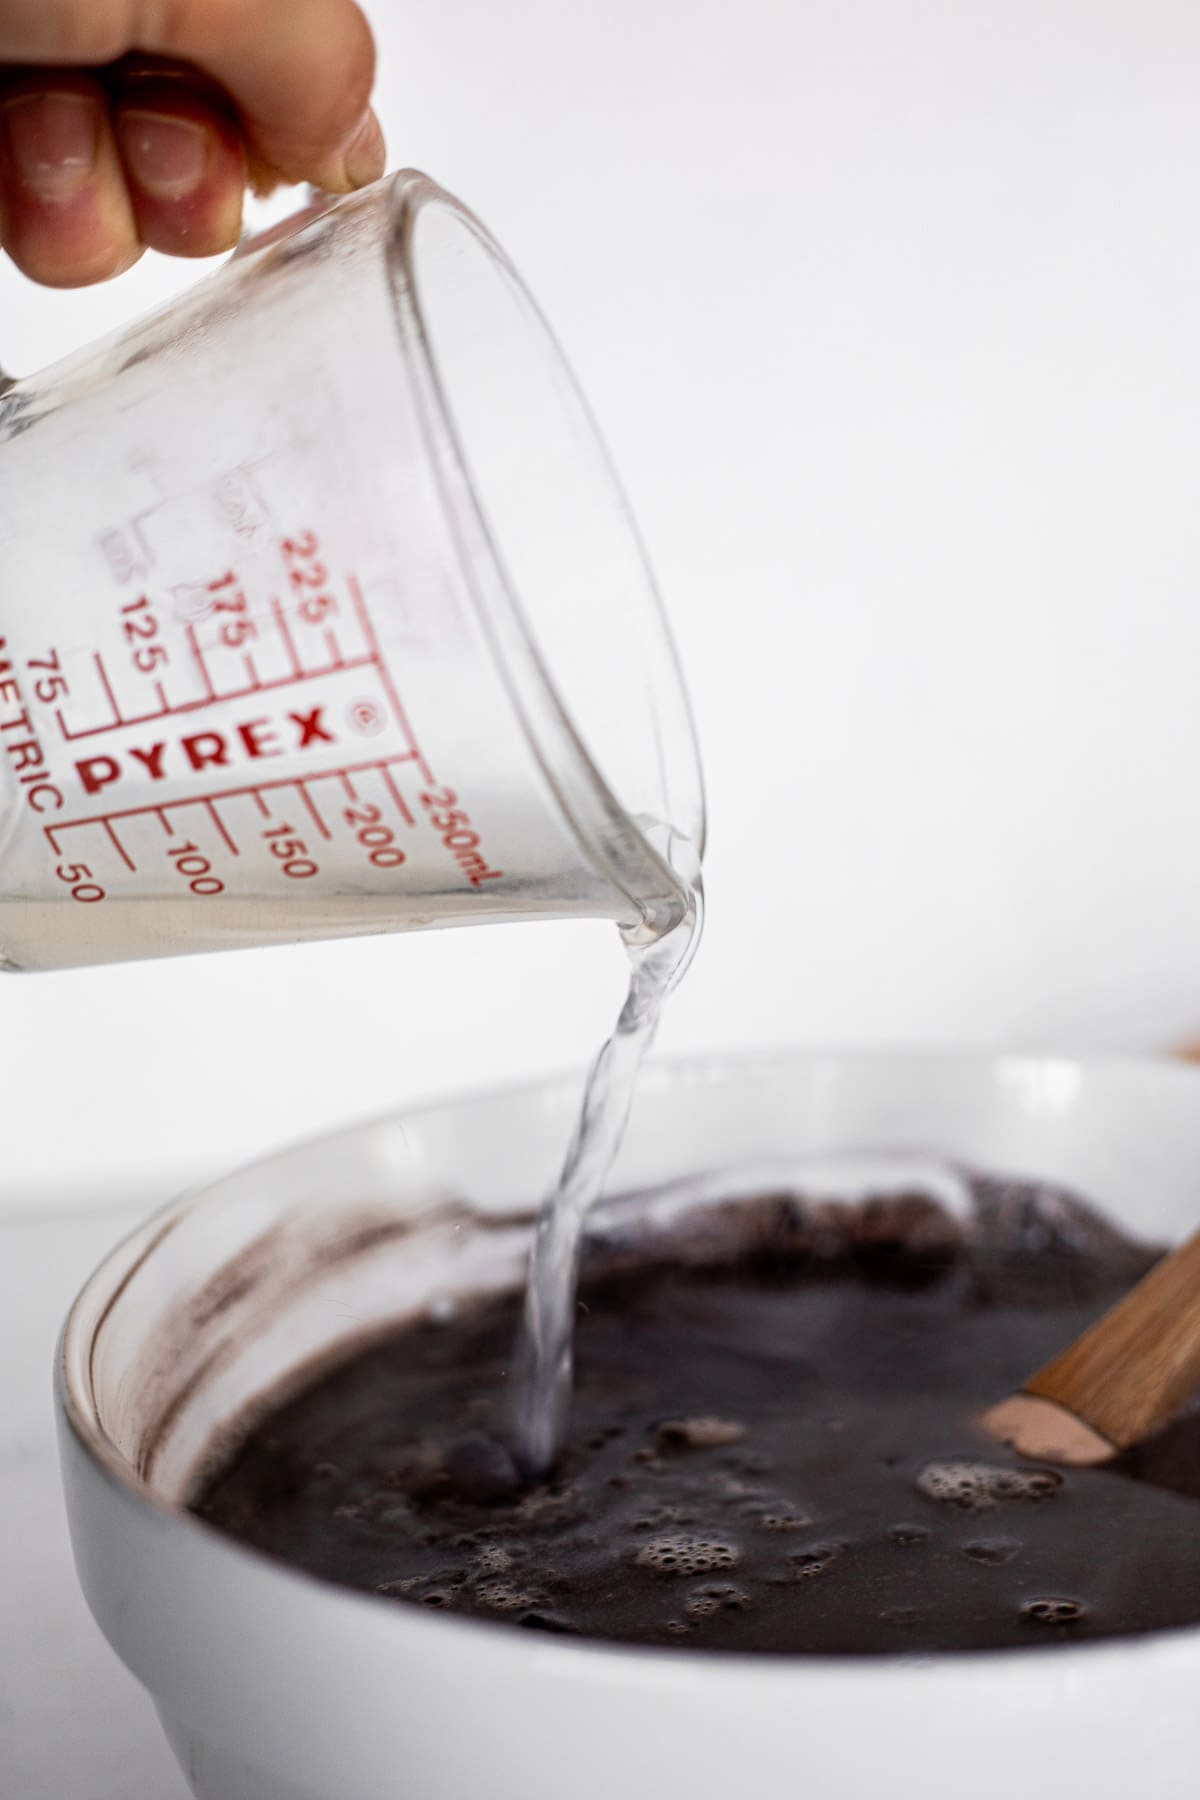
- Boiling water: (not pictured because my lens would fog up lol) but you need this to 'bloom' the cocoa powder and create a silky smooth batter.
- Powdered sugar: For the black cocoa buttercream, you'll want to sweeten it with powdered sugar NOT granulated sugar. Powdered sugar creates a smoother, fluffier buttercream texture.
- Butter: I made a classic American buttercream recipe that of course, starts with butter. I do recommend using salted butter, but unsalted also works!
How To Make The Best Black Velvet Cake
STEP ONE: Preheat the oven to 350°F and line the bottoms two 8 inch round cake pans with parchment paper and spray the sides of the pans with non-stick cooking spray.
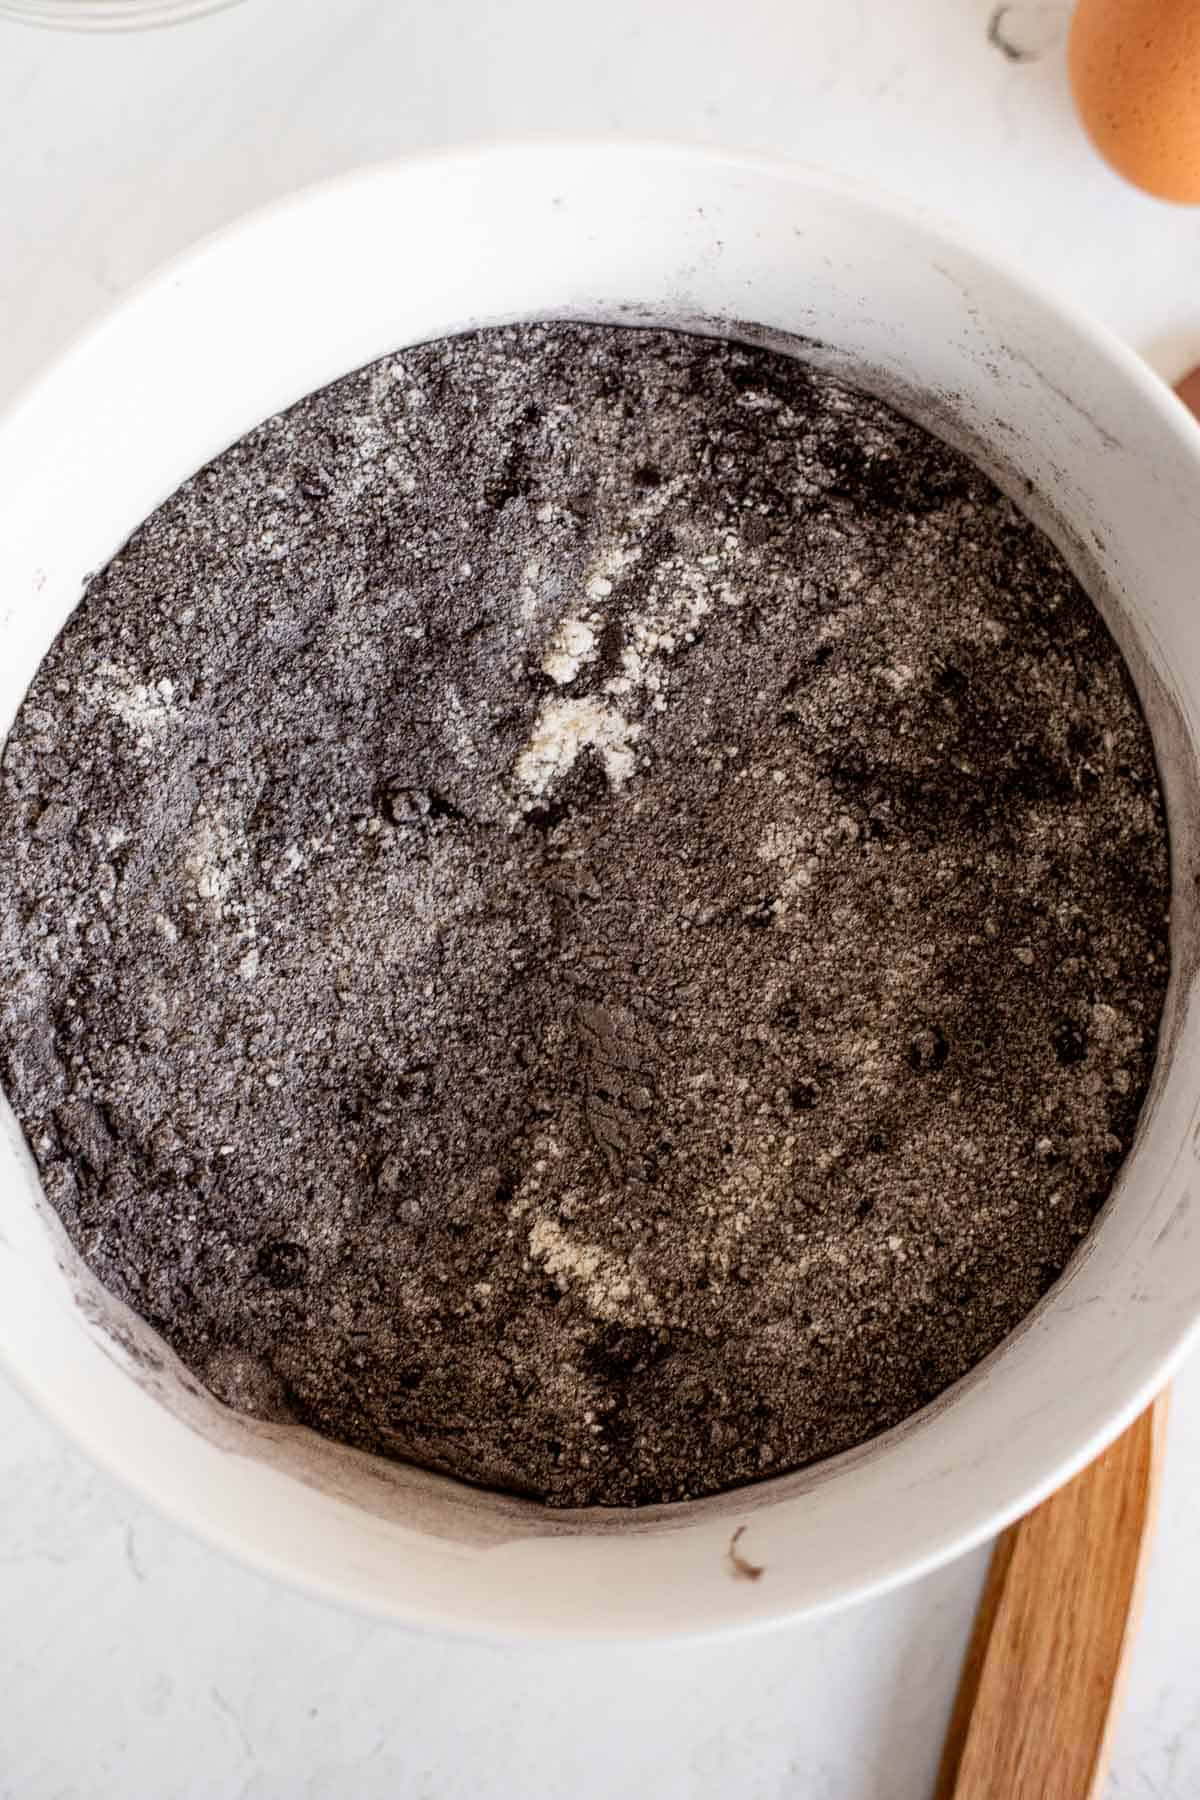
STEP TWO: In a large mixing bowl, whisk together the dry ingredients until well combined.
STEP THREE: Next, to the dry ingredients, add the milk, sour cream, eggs, and vinegar. Use a wooden spoon or spatula to mix well.
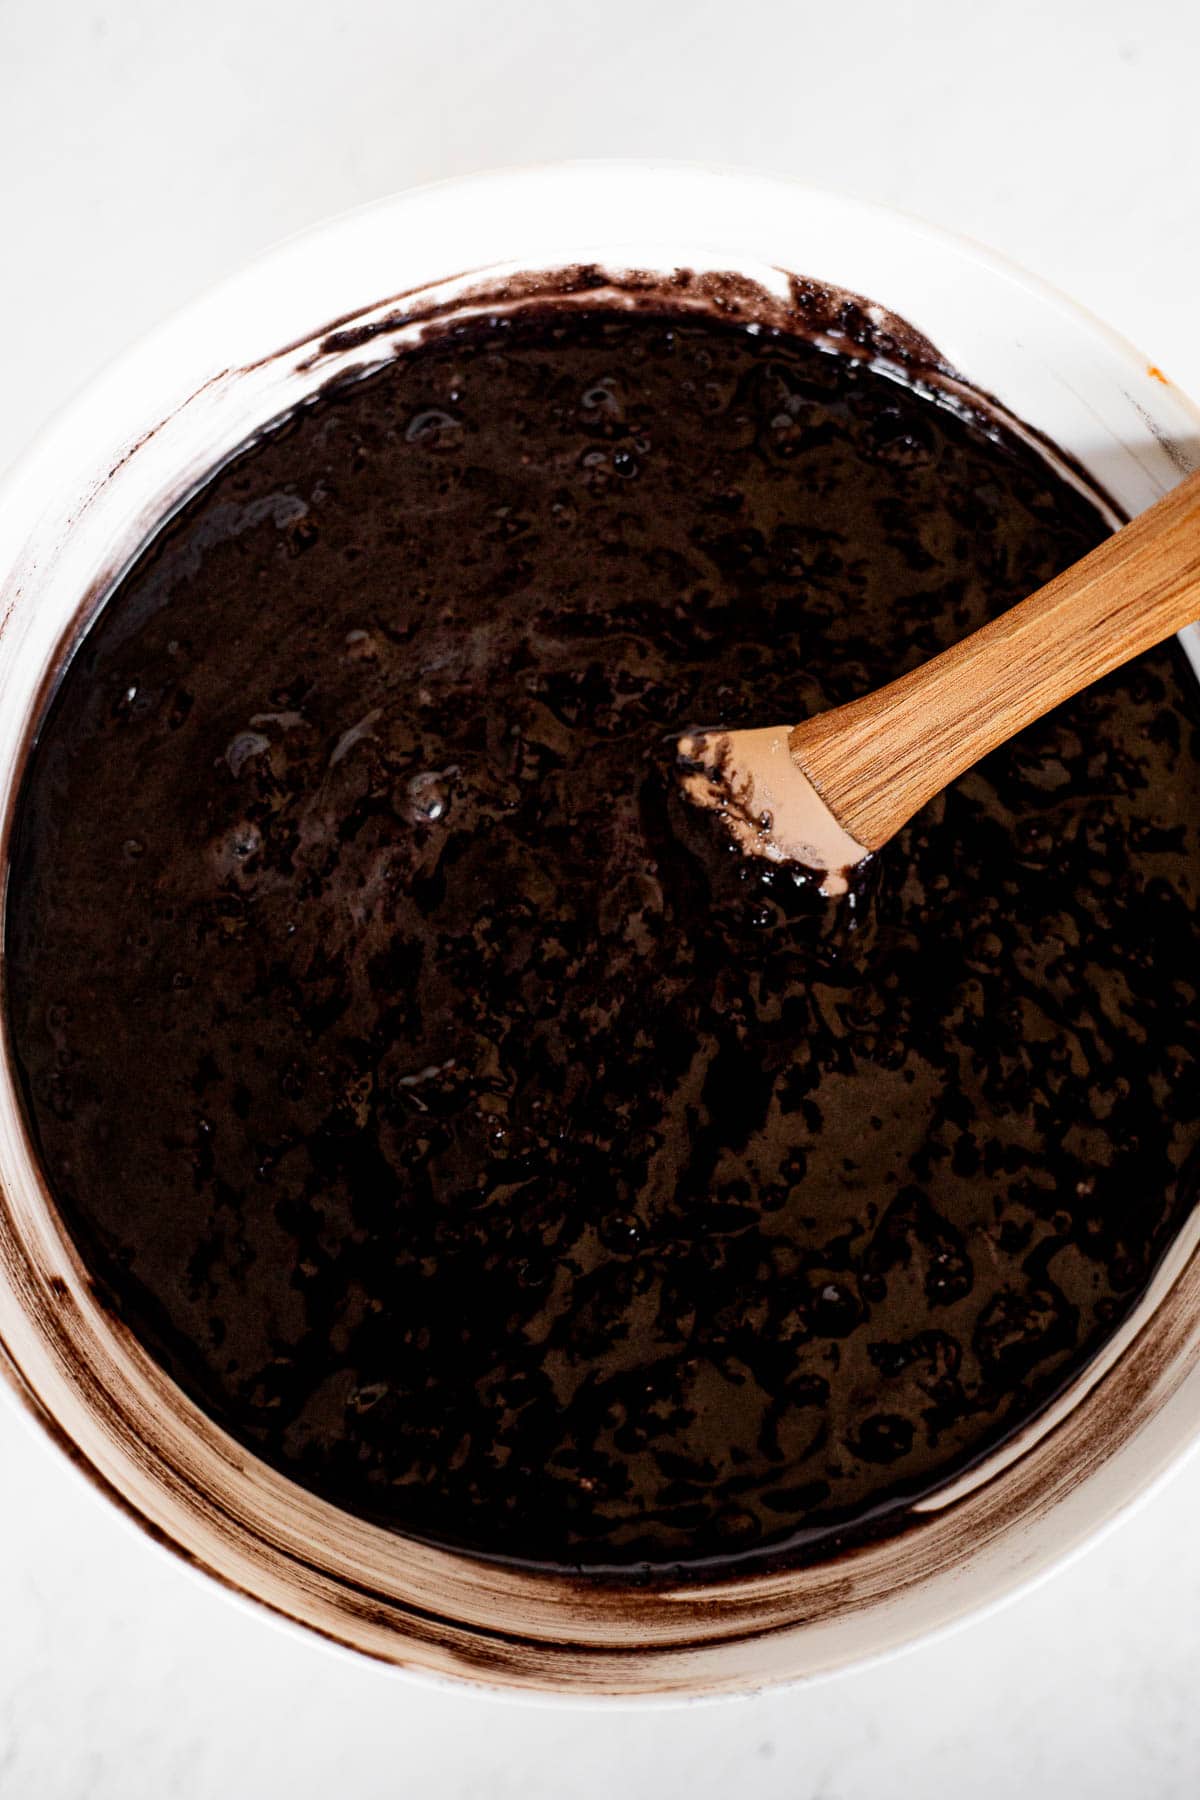
STEP FOUR: Finally, carefully pour the boiling water into the bowl and mix slowly until all ingredients are evenly incorporated. (batter will seem thin!)
STEP FIVE: Distribute the black cocoa cake batter evenly between the two prepared cake pans. Bake in preheated oven for 23-25 minutes, or until a toothpick inserted into the center comes out clean.
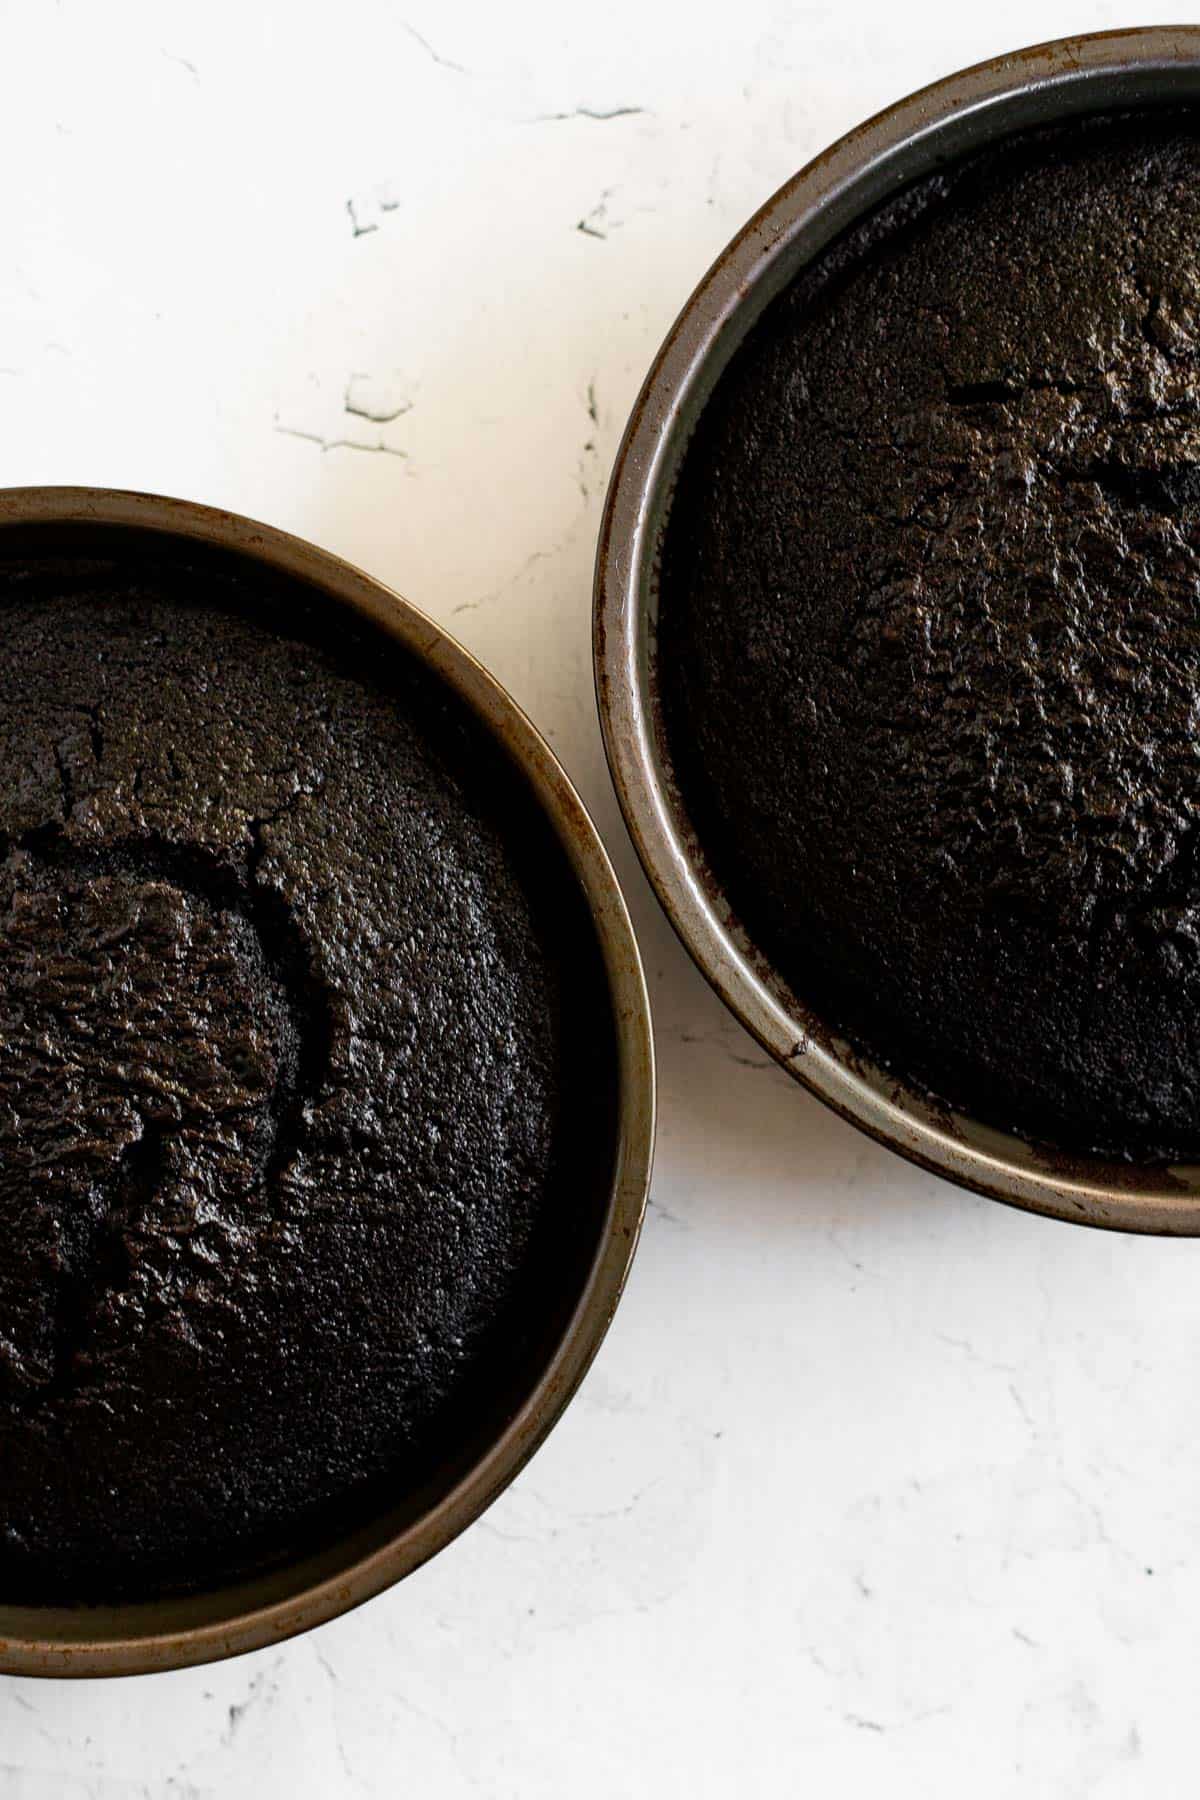
STEP SIX: Let the cakes cool for 10 minutes in the pans, then flip them out onto a wire rack to finish cooling completely.
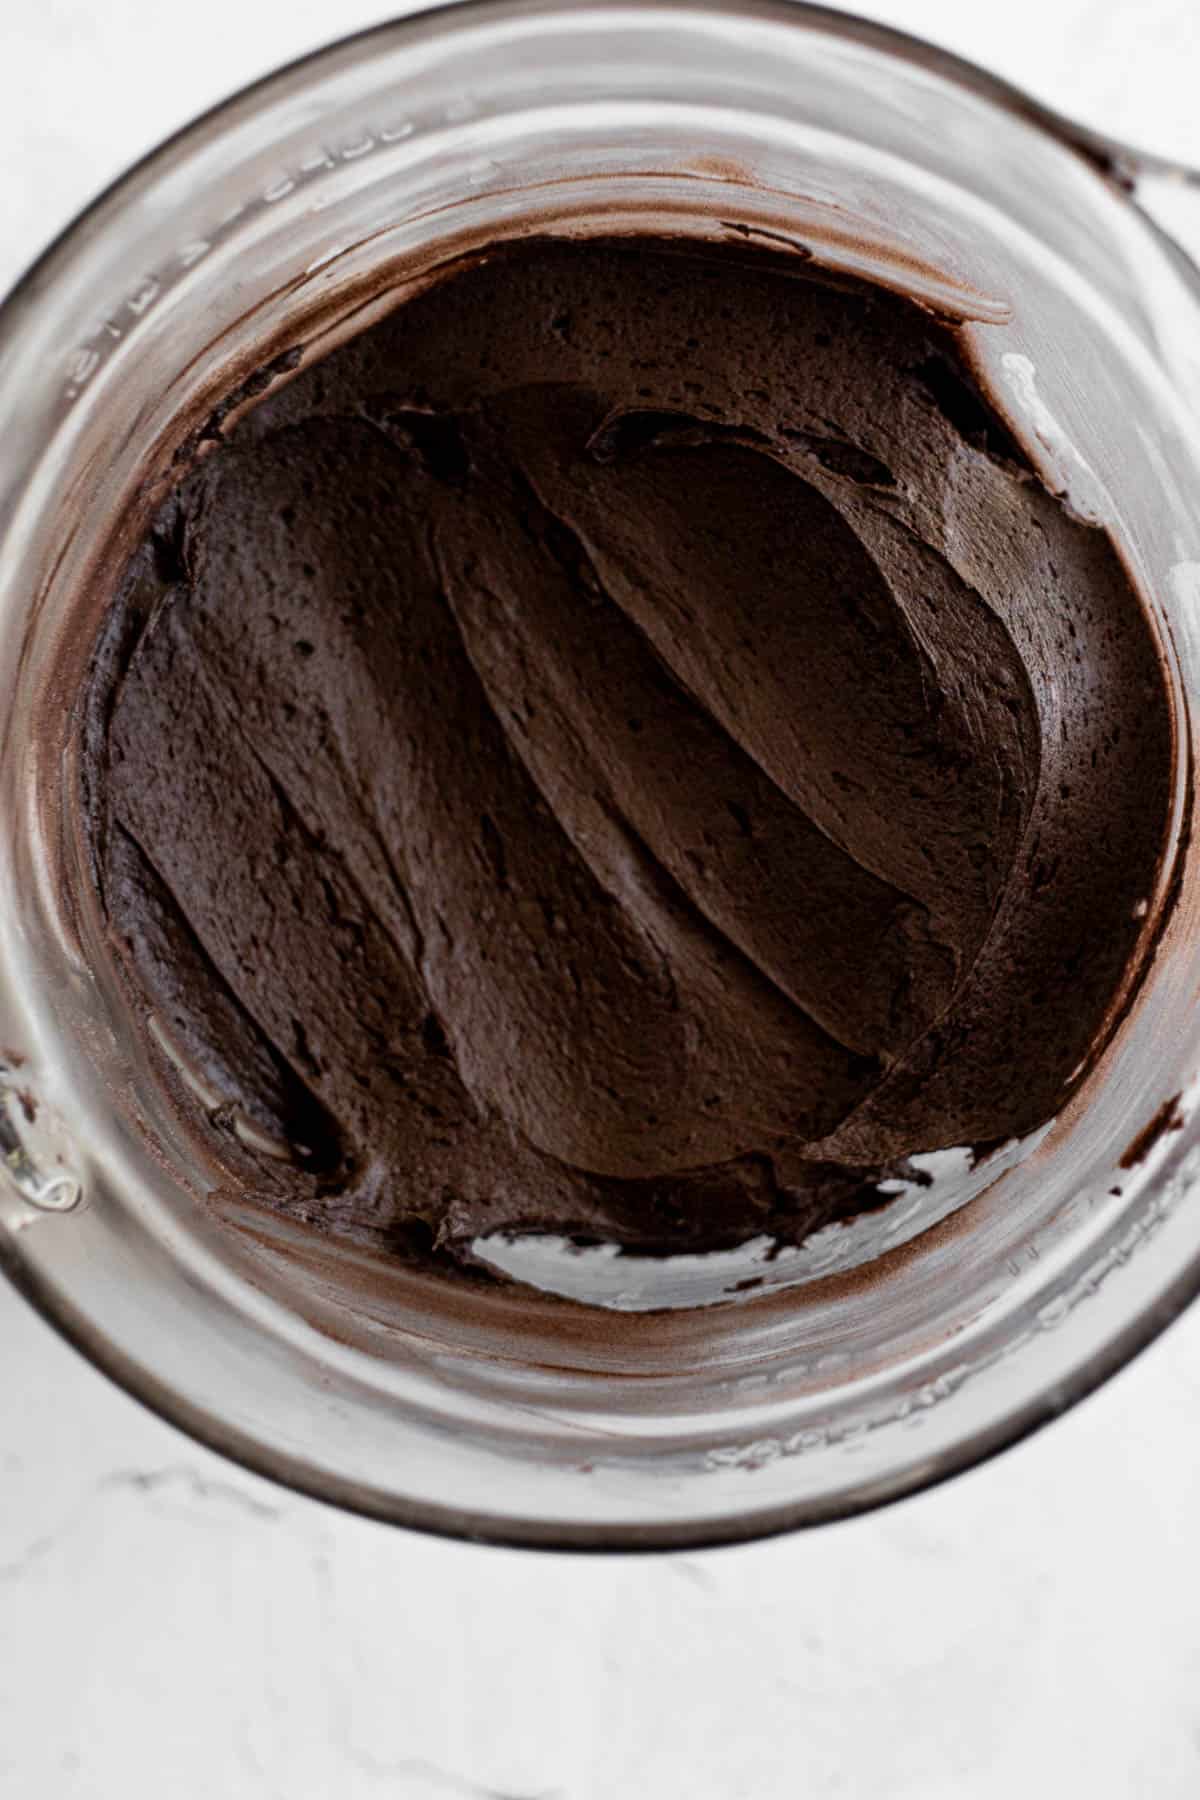
STEP SEVEN: Once the cakes are cooled, you can make the black cocoa buttercream. Use a hand mixer )or stand mixer) and beat the butter on high until light and fluffy.
STEP EIGHT: Add the powdered sugar, black cocoa powder, and milk to the beaten butter and mix slowly until all is incorporated. Once it's mixed, turn the speed up to high and beat for 2-3 minutes.
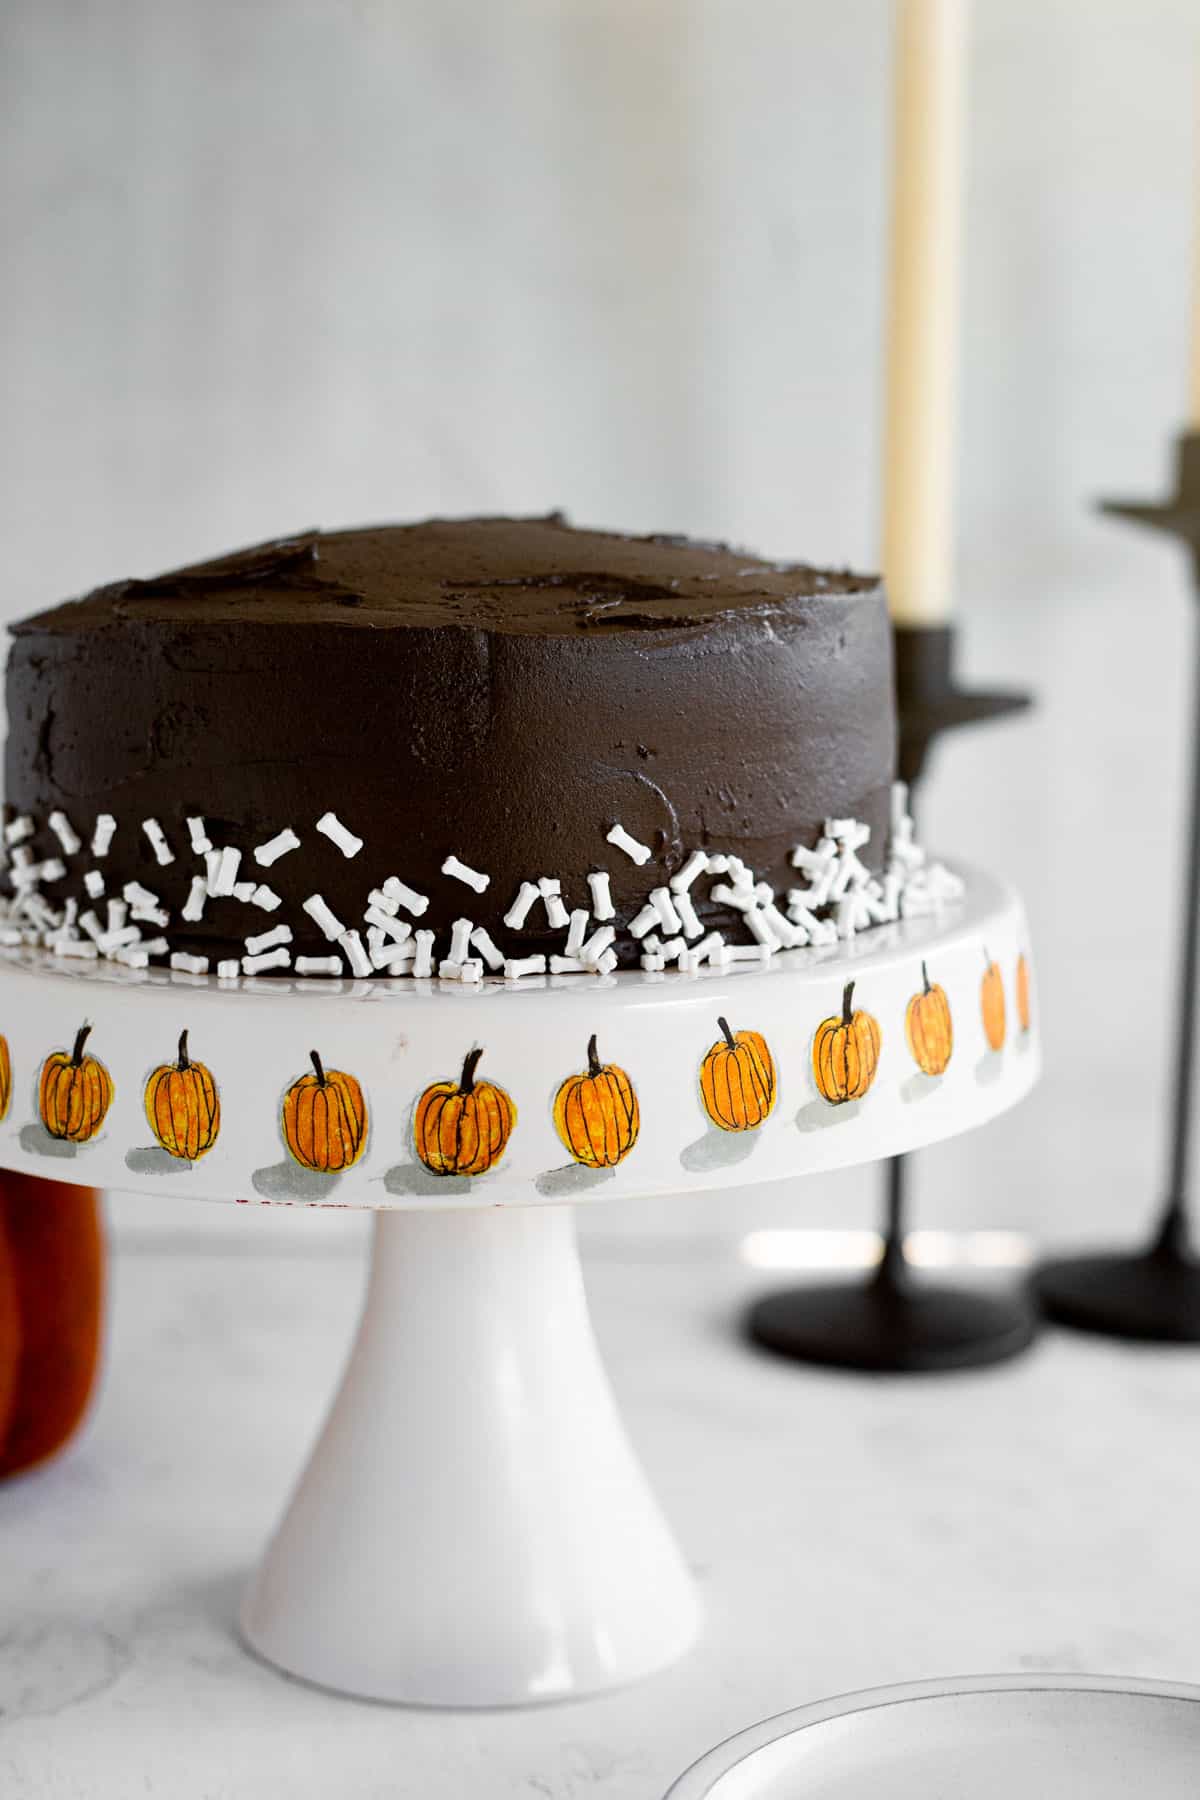
STEP NINE: Place one cake layer down on your cake stand, spread some frosting on top of it, then add your top layer. Cover the entire cake in that dreamy black cocoa buttercream, then decorate and enjoy!
Decorating Ideas
- Black cocoa buttercream: Keep it simple and classy, and decorate with black cocoa buttercream. Use a bench scraper to get the smoothest edges possible, then serve and enjoy!
- Sprinkles: Sprinkles are my favorite way to decorate because they're fun, simple, and come in so many different colors and shapes! Grab ones that fit your theme and start decorating.
- Halloween decorations: Many craft stores sell Halloween cake decorations. Raid your local hobby store and get creative!
- Vintage piping: You've probably seen vintage piping all over the internet, and for good reason- it's STUNNING. If you want to give it a try, double the batch of frosting, pull out your piping tips, and have fun.
Substitutions and Variations
Black cocoa powder: If you can't find it, substitute with Dutch Process cocoa powder and add black gel food dye for color.
Vinegar: I prefer white vinegar, but apple cider vinegar will also do the same thing.
Gluten free: If you need this cake to be gluten free, substitute the all purpose flour with a gluten free all purpose flour that contains xanthan gum. Allow the cake batter to rest for 15 minutes before baking.
Filled: There's plenty of filling options you could do in between the cake layers! Get creative, but a few of my personal favorites are raspberry jam, crushed Oreos, or even chocolate ganache.
Expert Baking Tips
- Use room temperature ingredients: Using room temperature ingredients ensures that they blend together easier when mixing, thus resulting in a smoother batter.
- Measure ingredients properly: You'll notice that the ingredients in the recipe card are listed in grams, and that's because it's the most accurate way to bake.
- Don't over mix the batter: When stirring everything together, keep mixing until the ingredients are just combined.
- Substitute boiling water with coffee: No, your cake won't taste like coffee, but it will have a more pronounced chocolate flavor.
- Don't double the recipe: If you're looking to do a four layer cake, make the same recipe in two batches. Cakes can be finnicky and don't do well always if you simply double the ingredients.
- Have fun with decorations: Have fun and get creative when decorating! Go for a naked cake look, fully frosted, vintage piping, or keep it easy with themed sprinkles. Whatever you do, just make sure to have fun!
Frequently Asked Questions
Black cocoa powder isn't quite as chocolatey as regular, unsweetened cocoa powder. It has a rich, non-bitter flavor, that's smoother and less pronounced than traditional Dutch processed or unsweetened cocoa powder.
No, this black velvet layer cake is perfect to make anytime! You could make it at Christmas as a "coal" inspired cake, "over the hill" birthday parties, or really any celebration you can think of.
Change the frosting color on the outside to represent what you're celebrating and enjoy this cake all year long.
If you want to make black velvet cupcakes, try this recipe instead!
If you want more than a two layer cake, you can easily make two batches of the cake batter and stack 4 layers. OR you can use the same recipe and bake in 6 inch cake pans for a smaller, but taller 3 layer cake. (keep in mind, baking time will be different so keep an eye out.)
Red velvet cake is often dyed red and made with unsweetened cocoa powder and buttermilk. This black velvet cake is naturally colored, make with black cocoa powder, and my recipe uses vinegar and whole milk instead of buttermilk.
Yes, this cake can be made a day ahead of time. Once you frost and decorate the cake, store it in the fridge overnight, but take it out 2-3 hours before you plan on serving so it's at room temperature.
Storing Instructions
To store leftovers, place a sheet of parchment paper along the inside of the cake where it's cut to lock in moisture. Store cake in an airtight container at room temperature for up to 2 days or in the fridge for up to 5 days.
Cake is best served at room temperature, so remove from the fridge 60 minutes before you plan on eating it.
If you don't have a big enough container, cut the cake into slices and lay in a single layer in an airtight container.
A quick note about baking in grams...
You may notice that most of my newer recipes are listed in grams instead of cups. That's because it's really the most accurate way to measure and bake exceptional treats every time with little room for error.
The recipe card includes a way for you to convert the Metric measurements into US measurements, but I personally have not tested it. I recommend purchasing a $10 scale from Amazon and making your life easier!
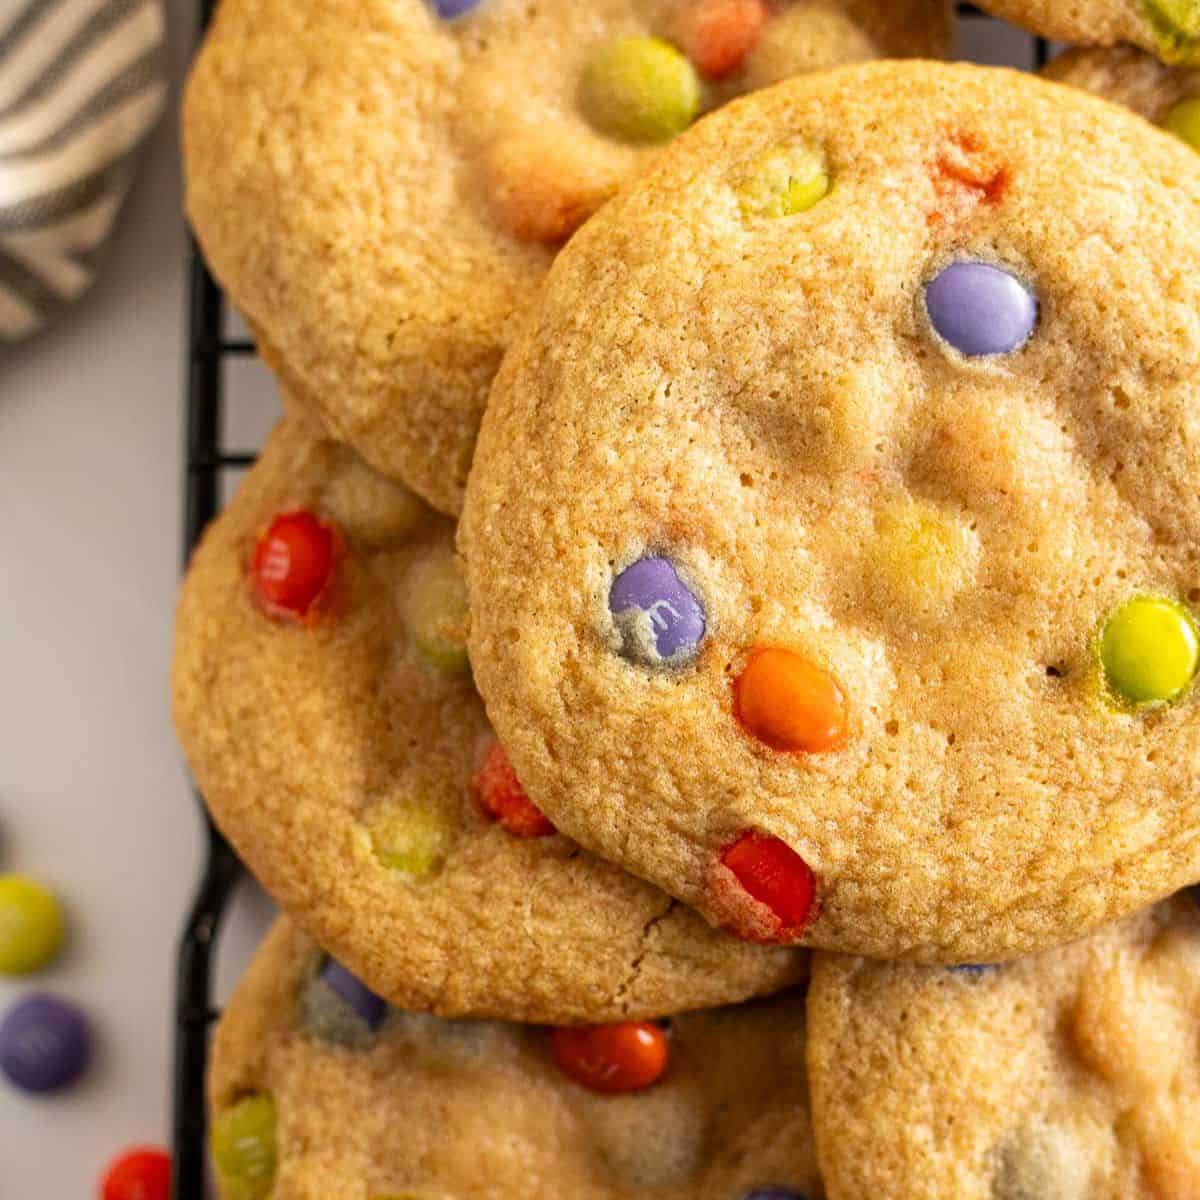
More Halloween Recipes You'll Love!


Did you make this delicious Black Velvet Cake? If so, I would appreciate you leaving a comment and star rating down below.
Also, follow me on Instagram (@coleinthekitchen), Pinterest, and Facebook, or sign up for emails so you're the first to know when a new recipe drops!
PrintBest Ever Black Velvet Cake
This is the BEST Black Velvet Cake! Two layers of moist, tender, cake that is naturally black (no food dye needed), and tastes reminiscent of Oreos. This is a simple, one bowl recipe that bakes up in less than 30 minutes and is perfect for your Halloween festivities!
- Prep Time: 15 minutes
- Cook Time: 23 Minutes
- Total Time: 38 minutes
- Yield: 14 Servings 1x
- Category: Cake
- Method: Baking
- Cuisine: American
Ingredients
For The Cake:
- 220g all purpose flour
- 200g granulated sugar
- 70g black cocoa powder
- 1 ½ teaspoon baking soda
- 1 teaspoon baking powder
- ¾ teaspoon salt
- 240g whole milk
- 120g neutral flavored oil (vegetable, canola, avocado)
- 60g full-fat sour cream
- 2 large eggs- room temperature
- 1 tablespoon white vinegar
- 120g boiling water
For The Buttercream:
- 226g salted butter (2 sticks)- room temperature
- 400g powdered sugar
- 40g black cocoa powder
- 2-3 tablespoons whole milk
- Small pinch of salt (omit if using salted butter)
Instructions
-
Preheat the oven to 350°F and line the bottoms two 8 inch round cake pans with parchment paper and spray the sides of the pans with non-stick cooking spray.
-
In a large mixing bowl, whisk together the flour, sugar, black cocoa powder, baking soda, baking powder, and salt. Mix until well combined.
- To the dry ingredients, add in the milk, oil, sour cream, eggs, and white vinegar. Use a wooden spoon to mix everything together until well incorporated.
- Next, carefully pour the boiling water into the cake batter and again, mix carefully until the batter is smooth. (it will seem thin, that's ok!)
- Divide the chocolate cake batter between the two prepared pans and place into the preheated oven.
- Bake for 23-25 minutes, or until a toothpick inserted into the center comes out clean.
- Carefully remove the cakes from the oven and allow them to cool for 10 minutes in the pan before turning out onto a wire rack to cool completely.
- Once the cakes are cool, you can start making the black cocoa buttercream. To make that, place softened butter into a large mixing bowl and use a hand mixer (or stand mixer) to beat for 2-3 minutes until light and fluffy.
- Next, add the powdered sugar, black cocoa powder, milk, and salt (if needed) to the butter. Mix on low speed until fully incorporated, then turn the speed up to medium/high and beat for 2-3 minutes.
- To stack your cake, place one layer onto your cake stand, spread buttercream on top, place on the top layer, then cover the entire cake in frosting, decorate, and enjoy!
Notes
- Use room temperature ingredients: Using room temperature ingredients ensures that they blend together easier when mixing, thus resulting in a smoother batter.
- Measure ingredients properly: You'll notice that the ingredients in the recipe card are listed in grams, and that's because it's the most accurate way to bake.
- Don't over mix the batter: When stirring everything together, keep mixing until the ingredients are just combined.
- Substitute boiling water with coffee: No, your cake won't taste like coffee, but it will have a more pronounced chocolate flavor.
- Don't double the recipe: If you're looking to do a four layer cake, make the same recipe in two batches. Cakes can be finnicky and don't do well always if you simply double the ingredients.
- Have fun with decorations: Have fun and get creative when decorating! Go for a naked cake look, fully frosted, vintage piping, or keep it easy with themed sprinkles. Whatever you do, just make sure to have fun!
- Storing: Place a sheet of parchment paper where cake is cut to lock in moisture and store cake in an airtight container at room temp for 2 or in the fridge for up to 5 days. Or cut cake into slices and keep in an airtight container.


Rosie Hughes says
Love to make this cake
Nicole Radcliffe says
You should definitely try it, it's super easy and very delicious!